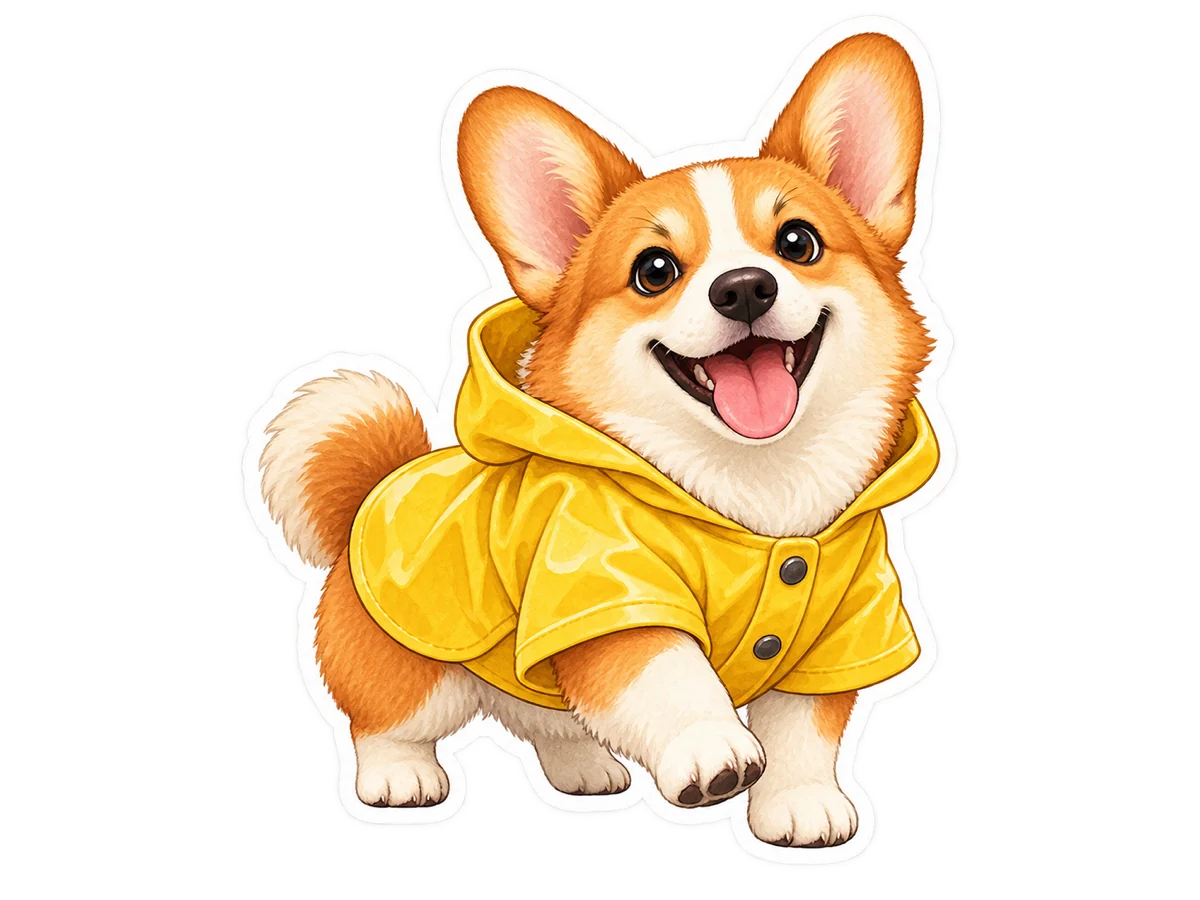
Pet expression sticker
Start with a clear subject and a short visual brief, then keep the expression, silhouette, and outline easy to read at chat size.
Create a sticker from a prompt or one photo, review the result, remove the background when you are ready, and tune a clean white outline in your browser before downloading.
Your sticker appears here
Choose Text to sticker for a fresh idea or Photo to sticker for a reference-led result.
Finished sticker examples
The same workflow supports playful character art, product-like objects, and a recognizable half-body avatar. Each example ends with a transparent asset that can move into another design.
Start with a clear subject and a short visual brief, then keep the expression, silhouette, and outline easy to read at chat size.

Use a simple object to test shape clarity, small details, and how the transparent result sits on a colored canvas.

Use a photo or a detailed prompt for a recognizable character that works in profile cards, community posts, and creator branding.
Direct answer
An AI sticker generator turns a written idea or a reference photo into a compact, expressive graphic with a clear silhouette. The result is useful when a normal image is too detailed for a chat reaction, profile mark, product insert, community post, or small social asset.
A usable sticker needs more than a new image. It needs a readable subject, a square composition, clean separation from its surroundings, and an export that can sit on light or dark surfaces. This page keeps those decisions visible: create the artwork first, remove the background separately, then tune the white outline locally.
The page works best with a specific subject, expression, pose, material, and color direction. Review hair, fur, glasses, fingers, narrow gaps, and tiny lettering before publishing because small sticker canvases make edge mistakes more noticeable.
Use the input mode that matches the material you already have, then finish the asset for the surface where it will be used.
Describe a character, pet, object, expression, palette, or illustration finish and start from a new square composition.
Upload one clear reference and explain the desired sticker treatment while keeping the subject recognizable.
Run background removal only after reviewing the generated image, then use the checkerboard preview to inspect the cutout.
Adjust the outline thickness in the browser without rerunning image generation or spending another generation charge.
The three-step flow keeps creative generation, cutout cleanup, and local finishing easy to inspect.
Pick Text to sticker for a fresh concept, or Photo to sticker when one reference should guide the subject.
Write a concrete brief, create one square result, and inspect the expression, silhouette, materials, and small details.
Start the separate background-removal step, set the local white outline, and download a transparent PNG when the edge is ready.
Commercial comparison
Choose the workflow by the final asset you need. This page puts generation, transparent cutout, and local outline finishing in one reviewable path.
| Decision | This sticker workflow | General image AI | Template editor |
|---|---|---|---|
| Starting point | Text or one photo, with a square sticker brief | Prompt or references for a broad image result | A predefined layout, asset library, or blank canvas |
| Transparent cutout | Dedicated second step with its own status and retry | Often needs a separate background-removal tool | Usually requires manual layering or a separate cutout |
| Edge finish | Local white outline slider with PNG download | Depends on the model output and later editing | Depends on the editor's stroke, mask, or export controls |
| Best fit | Chat reactions, avatars, pets, objects, and small branded assets | Exploring many image types before a finishing workflow is chosen | Designers who already have fixed layouts and source assets |
The practical advantage is a visible sequence from idea to transparent PNG. Review each generated edge before using the asset in a published design.
Answers about inputs, output, credits, transparent PNGs, and the separate finishing steps.
Use a written brief for a new sticker, or upload one JPG, PNG, or WebP reference when the result should follow a subject from a photo. A clear subject and a specific expression or pose usually give you more to review.
Yes. Choose Photo to sticker, upload one reference, and describe the desired illustration treatment. The reference guides the image step; you still review the generated result before removing its background.
The image step creates the artwork first. The page then offers a separate background-removal step that returns the transparent result, followed by a checkerboard preview and PNG download.
No. The outline slider runs locally in your browser on the removed-background result, so changing its thickness does not rerun image generation or charge another generation task.
The image step shows its resolution-based credit cost before generation. Background removal is a separate 10-credit step, and the action shows that cost before it starts.
Inspect the silhouette, hair or fur, glasses, fingers, interior gaps, tiny details, and any lettering. Check the white outline on both light and dark surfaces before using the PNG in a published design.
Remove a background from an existing image, make a more targeted edit, or review the credit options before your next creative task.
Start with a prompt or a photo, review the square artwork, and finish the cutout when the subject is ready to place.