Mask-guided object removal

Object Remover

Object Remover erases unwanted people, clutter, and small fixtures from photos you own or are allowed to edit. Box or brush over the object, keep the rest of the frame untouched, and let the tool rebuild only the selected area.

Source image / 01

Upload the picture that contains the object you want gone.

30 credits

Drop an image to begin

JPG, PNG, or WebP · 10 MB max · 128–4,096 px per side

Canvas / mask preview

100%

Your mask canvas appears here

Upload an image to box or brush over the object, then generate a clean rebuild.

  • JPG · PNG · WebP
  • Rectangle + brush selection
  • Undo and multi-region masks
  • 30 credits per image

Removal studies

Three object problems this page is built to solve

Each study shows the same decision: the selected object is the target, and everything around it—the subject, background, texture, and perspective—is a preservation goal. Results are reconstructions, not copies of hidden pixels.

Case 01 · Travel / photobomber

A stranger wandering into a travel shot

A passer-by crosses the far edge of the frame just as the photo is taken. A box around the person lets the tool continue the paving, shadows, and skyline instead of regenerating the whole scene.

Reconstruction, not a copy
Street travel photograph before removing a photobomber in the frame
Before · photobomber
Street travel photograph after the photobomber is removed and the pavement rebuilt
After · rebuilt street

ReviewCheck the ground and horizon where the figure stood for a straight line or a repeated texture before sharing the shot.

Case 02 · Workspace / clutter

A desk product shot full of clutter

Cables, a cup, and sticky notes scatter around the object you actually want to sell. Separate masks remove each item, so the desk surface and shadows stay continuous.

Reconstruction, not a copy
Desk product photograph before removing clutter, a cup, and cables
Before · desk clutter
Desk product photograph after the clutter is removed and the surface rebuilt
After · clean desk

ReviewZoom into the desk surface where each item sat; soft reflections and grain are the hardest texture to continue.

Case 03 · Interior / wall fixture

A small fixture breaking up a clean wall

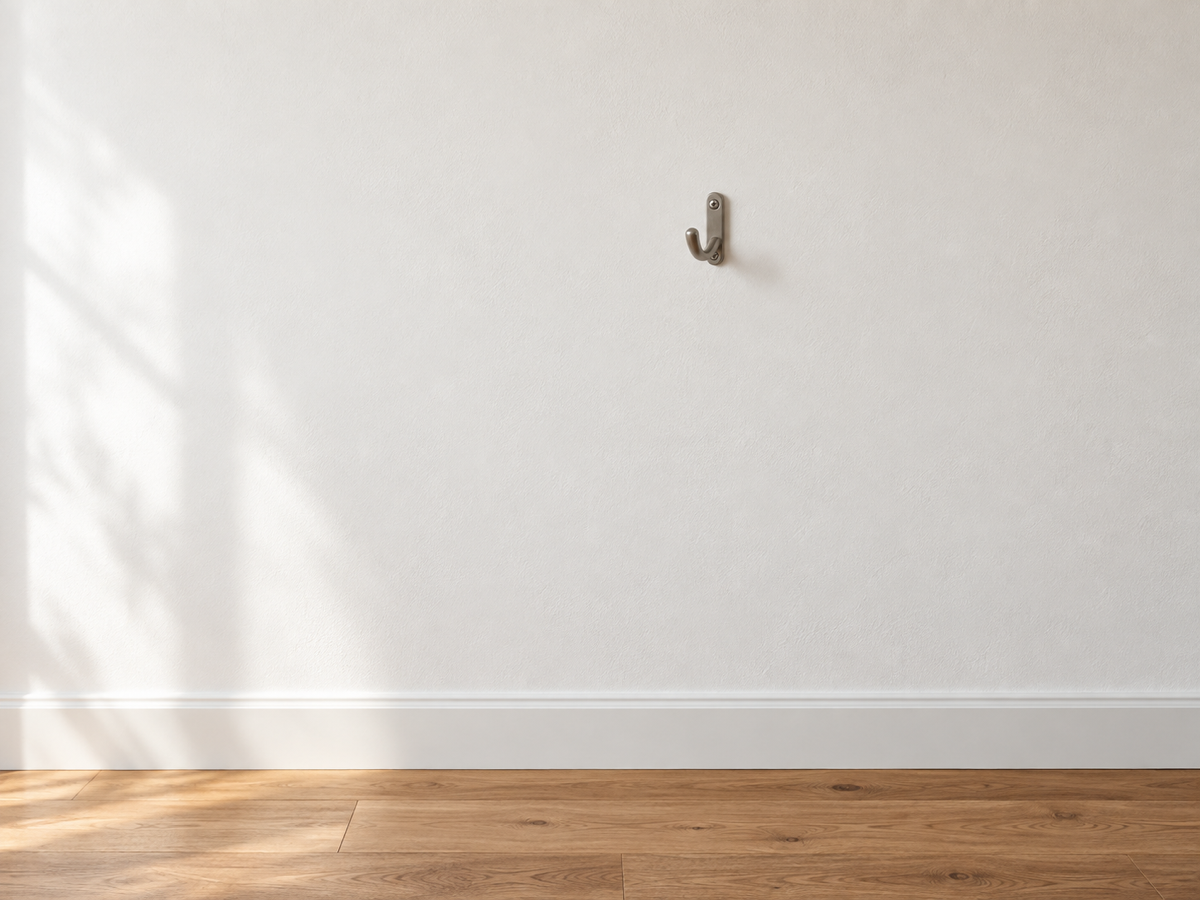
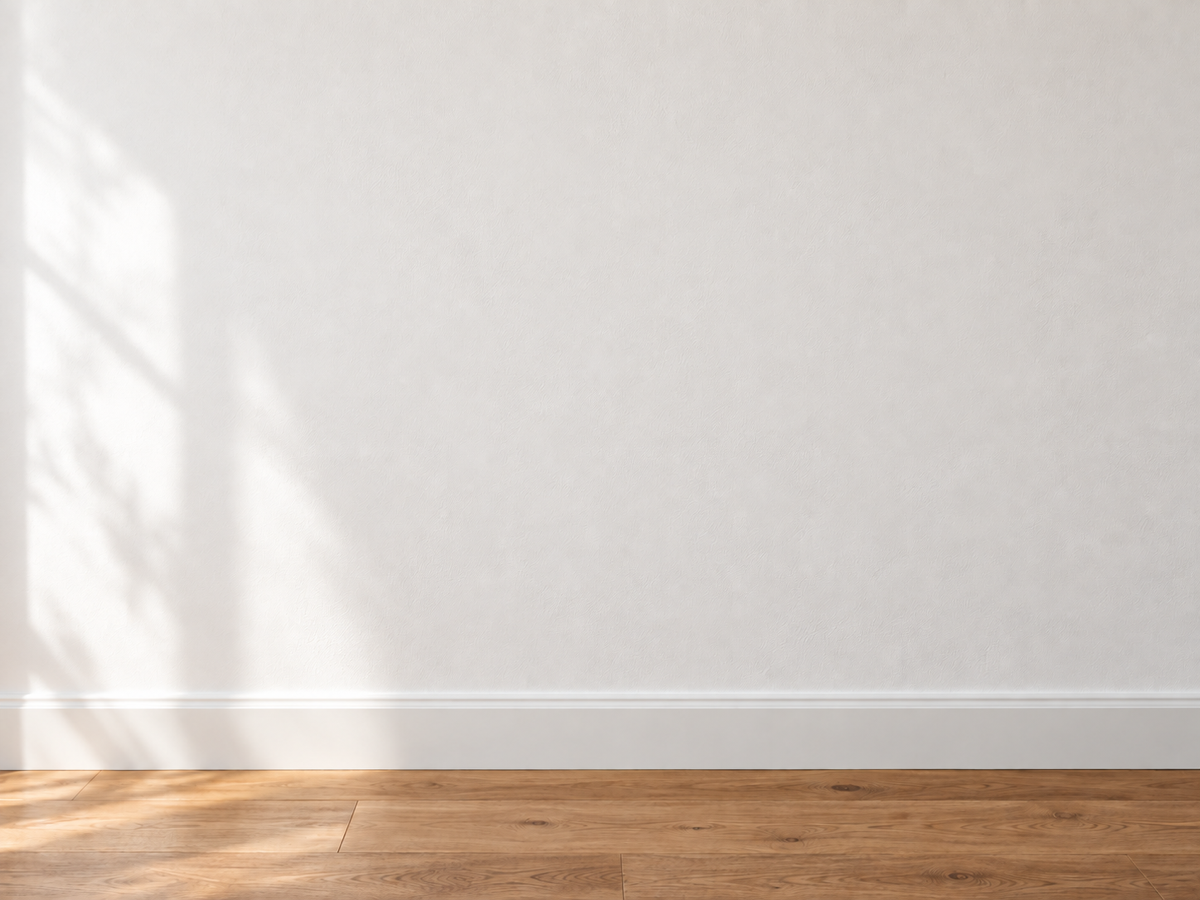
A hook, socket, or small sign interrupts an otherwise even wall. A tight brush or box follows the fixture so the plaster tone and lighting stay smooth around the repair.

Reconstruction, not a copy
Interior wall photograph before removing a small hook and fixture
Before · wall fixture
Interior wall photograph after the small fixture is removed and the plaster rebuilt
After · smooth wall

ReviewInspect the wall for banding or a faint outline where the fixture was, especially near a corner or a shadow gradient.

Definition

What does “object remover” mean here?

An object remover erases one or more unwanted objects from a photo by rebuilding the pixels behind them. It is an inpainting task: you paint a mask over the object, and only the masked region is regenerated while the rest of the picture is left alone.

People reach for an object remover when a clean shot is spoiled by something that should not be there: a passer-by in a holiday photo, cables and cups around a product, a wall hook that dates a room, or a stray prop on a table. The object is flattened into the image, so the pixels underneath it are gone. No tool can restore those exact pixels. The realistic goal is a plausible reconstruction that matches the surrounding colour, texture, lighting, and perspective so the edit stops drawing attention.

Mask-guided inpainting makes that goal controllable. Instead of describing a change in words and hoping the model localizes it, you decide precisely which pixels are allowed to change. Everything outside your selection remains the source image. That is the difference between an object remover and a full-image restyle, and it is why the workbench centres on selection rather than on typing.

The tool is built for plausible, reviewable cleanup rather than for research-grade restoration. It works best on objects that sit on a reasonably continuous background—pavement, desks, walls, skies, and foliage—and it asks you to compare the result with the original before you download. A tight mask and a steady review habit produce a much better result than a large, optimistic one.


Practical workflow

How to remove an object from a photo in 3 steps

The sequence is short because the important decision—what may change—is made visually in the workbench before anything is submitted.

  1. 01

    Upload one photo

    Choose a JPG, PNG, or WebP file up to 10 MB. Each side must be between 128 and 4,096 pixels, JPEG is capped at 1 megapixel, and PNG or WebP at 4 megapixels. The page checks the decoded image, not just the extension.

    Work from the highest-quality copy you have; heavy JPEG artifacts make the rebuild harder.

  2. 02

    Select the object

    Drag a rectangle around the object or switch to the brush for cables, hooks, and thin clutter. Add every region that should disappear, zoom in for small fixtures, and undo any selection that grabs more than the object.

    Confirm the mask covers the whole object and nothing that must be preserved, such as a face, a logo, or a product label.

  3. 03

    Generate, review, and download

    Press Generate to rebuild the masked regions. Each run costs 30 site credits and produces one image. Compare the result with the original using the slider, then download the finished PNG or start a new run with a tighter mask.

    Inspect the repaired area at 100% and confirm no object remnant survives and no unselected content changed.

Selection toolkit

Box it, brush it, then rebuild only that region

Selection is the real skill on this page. The tighter the mask, the less the model has to guess, and the more of your original image survives untouched.

01

Rectangle selection

Drag a box around a person, a box, or a piece of clutter that roughly fills a rectangular area. Fast, predictable, and easy to enlarge slightly when the object has a soft shadow or a fringe.

Best forPeople, bags, boxes, signs, and anything with a simple outline.

02

Brush selection

Paint over irregular or thin objects such as cables, hooks, cords, and small fixtures with an adjustable round brush. Brush strokes are stored as smooth paths so they scale back to the full-resolution mask.

Best forCables, hooks, sockets, thin props, and objects against texture.

03

Multiple regions and undo

Add as many boxes or strokes as the photo needs, then remove the last action with Undo or clear everything and start again. Each region is part of one mask and one task.

Best forA desk with several items, or a room with more than one fixture to hide.

04

Zoom before you commit

Zoom the canvas to place the mask precisely on small or thin objects. Selection coordinates are stored in image space, so the exported mask always lines up with the uploaded pixels.

Best forSmall fixtures, thin cables, and high-resolution photographs.

Cover the whole object, including its shadow and any anti-aliased edge. A mask that stops halfway through an object often leaves a visible remnant behind.

Method selection

Mask-guided object removal vs other cleanup methods

Different cleanup methods change different amounts of the picture. Choosing the right one is mostly about how much of the original image you need to keep.

MethodWhat changesControl you keepBest forMain risk
Mask-guided inpaintingOnly the masked region is rebuiltYou draw the exact region with boxes and brush strokesPhotobombers, clutter, and fixtures on images you must preserveA poor mask leaves a halo or misses part of an object
Prompt-only regenerationThe whole frame may be reinterpretedYou describe the change in words and hope the model localizes itCreative restyling where exact preservation is not requiredUnrelated faces, labels, or textures can drift
Clone or heal by handA manually sampled patch is copied over the objectYou place every sample and blend by handTiny marks where a human editor wants frame-by-frame controlRepeating patterns and gradients are hard to match by eye

No method recreates the true hidden pixels behind a flattened object. Mask-guided inpainting reduces unintended changes; it does not guarantee a perfect reconstruction.

Use cases

When a version without the object is useful

Most legitimate jobs share one condition: you own the photo, license it for this purpose, or have the rights holder’s permission to modify it.

01

Rescue a travel or event photo

Did a stranger, a bin, or a parked car spoil an otherwise good travel shot?

Try this: Box each unwanted element separately, keep the mask away from faces and signage, and rebuild one region at a time so a bad area is easy to undo.

ReviewCheck the ground line, horizon, and repeating textures where the object stood before you share the photo.

02

Clean up a product or listing image

Do cables, cups, or props distract from the product you are actually selling?

Try this: Brush thin items and box bulkier ones, then compare the desktop and shadows against the source before exporting a listing image.

ReviewVerify that reflections, labels, and straight product edges that must stay identical are unchanged.

03

Prepare a room or architecture shot

Does a hook, socket, or small fixture date a room you want to present cleanly?

Try this: Use a tight brush around the fixture and keep the mask inside the wall area, avoiding skirting boards and window frames.

ReviewLook for banding or a faint outline where the fixture was, especially across a lighting gradient.

Commercial comparison

Nano Banana Pro vs Cleanup.pictures vs Fotor

These services overlap, but they make different trade-offs between automation and control. The comparison focuses on the decision that matters here: how precisely you can choose the object region and how much of the original image survives. Competitor names appear for clarity; this page does not send you to competitor sites.

Workflow comparison reviewed

Decision pointNano Banana ProCleanup.picturesFotor
Selection modelRectangle and brush selection with multiple regions, undo, clear, and canvas zoom before you submit.A brush-first erase workflow aimed at quick object and blemish cleanup.A broad AI photo editor where object removal is one tool among many.
What the model is allowed to changeOnly the masked region is rebuilt; the source pixels outside the mask are the preservation target.The retouch is centered on the painted area, with behavior that depends on the current tool.Because it is a broad editor, the final result depends on which feature and settings you choose.
Object-specific review loopZoom, undo the last region, and compare original against result with a slider before downloading.Review happens inside the erase canvas for the painted area.Review happens in the broader editing project alongside other adjustments.
Entering the workflowThe first screen is the tool itself: upload, select, and generate without a setup wizard.Upload-and-erase flow focused on a single cleanup task.Editor-first flow where you then choose an AI removal feature.
Cost behavior on this page30 site credits per generated image; selection, zoom, undo, and the comparison slider are free.Plan, credit, and export rules depend on the current product and account.Plan, credit, and export rules depend on the current editor and account.

Choose Nano Banana Pro when you want to decide the exact object region, keep everything else as-is, and review a mask-guided rebuild before downloading. Choose a broader editor when object removal is one small step inside a larger design job.

Operating facts

Formats, limits, credits, and data flow

The workbench validates these boundaries before a paid task starts. They describe the implemented page, not a promise that every reconstruction will be invisible.

Public input limits

JPGPNGWebP
  • Upload one JPG, PNG, or WebP image no larger than 10 MB.
  • Each side must be between 128 and 4,096 pixels.
  • JPEG inputs are capped at 1 megapixel; PNG and WebP inputs are capped at 4 megapixels.
  • The selection mask is uploaded alongside the source and must match its dimensions; the server rejects mismatched pairs.
  • Exactly one image is produced per task. The result is available through the authenticated download route.

One generated image costs 30 site credits. Selecting, zooming, and comparing do not repeat the task.

What happens to an uploaded image

Selection and mask drawing happen in your browser. On upload, the server checks the actual image container, size, dimensions, and content moderation result, then stores both the source and the mask under your signed-in account. Before generation, the server verifies that both stored references belong to you and that the mask matches the source dimensions.

The generation task is created through the existing workbench provider path, which reserves credits, tracks the task, handles provider failures, and refunds failed runs. Completed images are fetched through the authenticated download route, so a result is only served to the account that requested it.

Credits are checked and consumed by the server when the task starts. Changing the selection, zoom, or comparison slider after a result does not create a new charge, and resuming an unresolved task does not charge again; starting a new run does.

Common questions

Object Remover FAQ

Short answers about input requirements, what can change, how the workflow behaves, and what the result can realistically deliver.

How do I remove an object from a photo with this tool?+

Upload a JPG, PNG, or WebP image, then drag a rectangle around the object or use the brush for cables and thin clutter. Add every region that should disappear, press Generate, review the result with the comparison slider, and download it. The visible steps are upload, select, generate, and download.

Which objects can I remove, and what stays untouched?+

The tool rebuilds only the region covered by your mask, so photobombers, bags, clutter, cables, and small wall fixtures are the target. Everything outside the mask—faces, products, logos, and backgrounds—is meant to stay as-is. If a selection accidentally covers something important, undo it before generating.

Does it detect objects automatically or do I select them?+

This page does not claim automatic object detection. You mark the object yourself with the box or brush, which keeps you in control of exactly what changes. That manual selection is the feature, not a missing automation.

What image formats, sizes, and limits are supported?+

The page accepts JPG, PNG, and WebP files up to 10 MB. Each side must be between 128 and 4,096 pixels. JPEG is limited to 1 megapixel, and PNG or WebP to 4 megapixels. GIF, PDF, and video files are not accepted.

How much does removing an object cost, and can I retry?+

Each generated image costs 30 site credits and returns one result. Drawing, zooming, and undoing the selection are free. Resuming an unresolved task does not create a second charge, but starting a new run after changing the mask is a new paid task, so tighten the mask first. If the provider fails, the task follows the existing refund path for the account.

Will the removed object leave a visible mark or change the rest of the photo?+

The goal is a seamless rebuild, but the result is a generative reconstruction, not the original hidden pixels. Repeating textures, gradients, and long shadows are the hardest cases and may leave a faint trace. Compare the whole image at 100%, and refine the mask if the rest of the photo shifted.

Return to the workbench

Select the object. Keep the picture.

Start with a photo you are allowed to edit, mask only the object, and rebuild the background without touching the rest of the frame. Related tools are here when you need to clean text, remove a watermark, or blur a background instead.

Rectangle + brush maskMulti-region with undoAuthenticated download