Case 01
Corner logo on a product photograph
A small opaque studio mark is removed from an uncluttered tabletop while the bottle, label, shadows, and warm lighting remain the preservation targets.
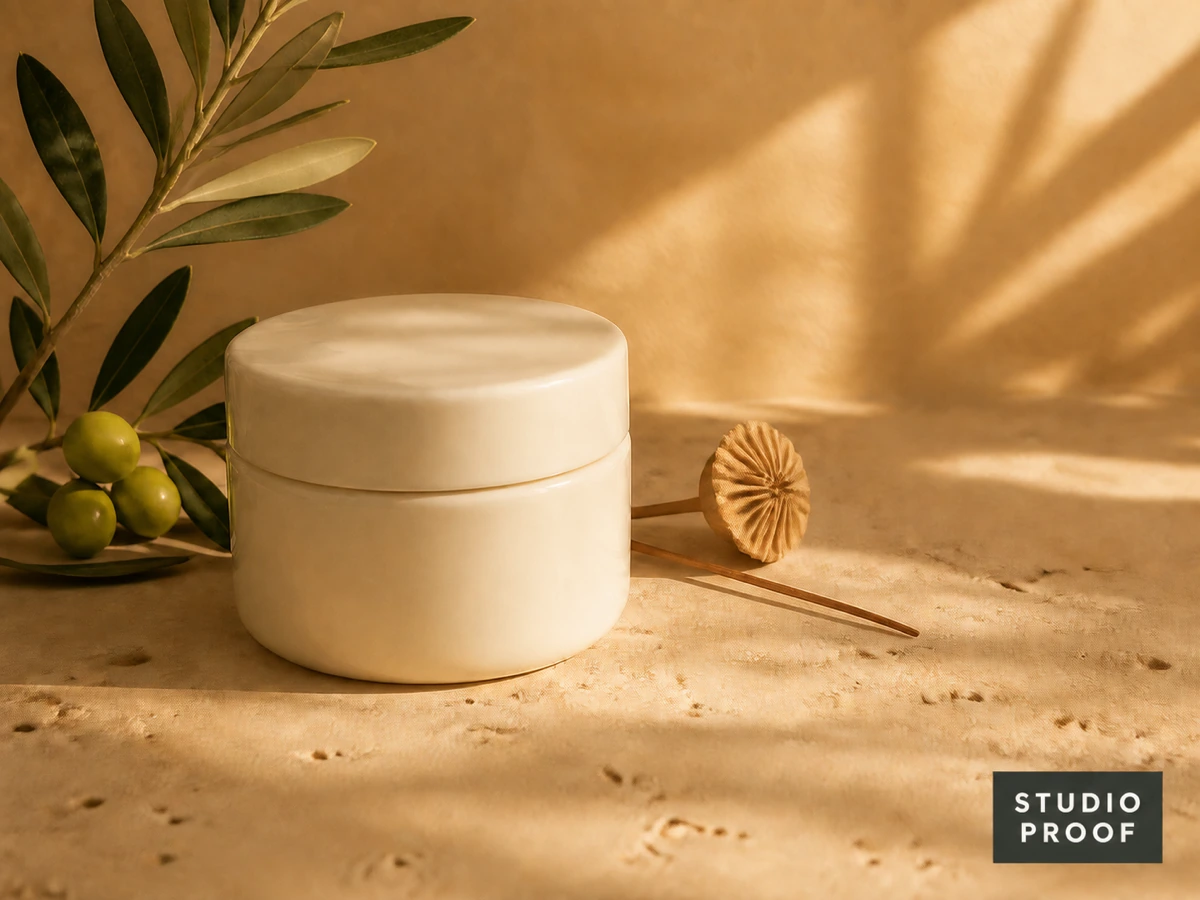
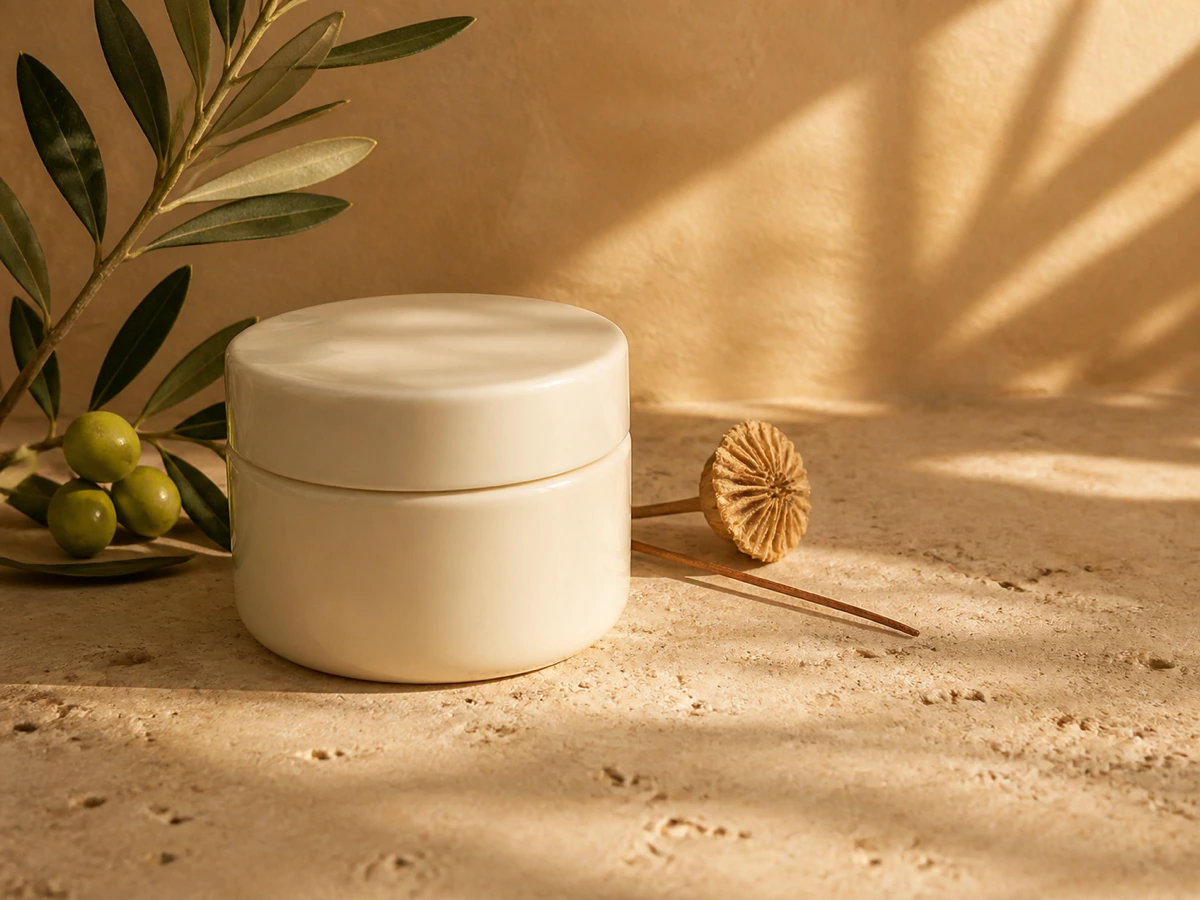
Remove watermark overlays from an image you own or have permission to edit by describing the mark and what the cleanup should preserve. The tool generates a reconstructed result for you to preview and download.
Your reconstructed result appears here
Upload an authorized image, refine the instruction, confirm your rights, and start the edit.
These examples use authorized, project-owned scenes. Each result is a newly generated reconstruction of the covered area—not a recovery of hidden source pixels.
A small opaque studio mark is removed from an uncluttered tabletop while the bottle, label, shadows, and warm lighting remain the preservation targets.
A semi-transparent ownership label crosses sky, mountain, and water, so the instruction identifies the mark and asks to preserve the natural horizon and reflections.
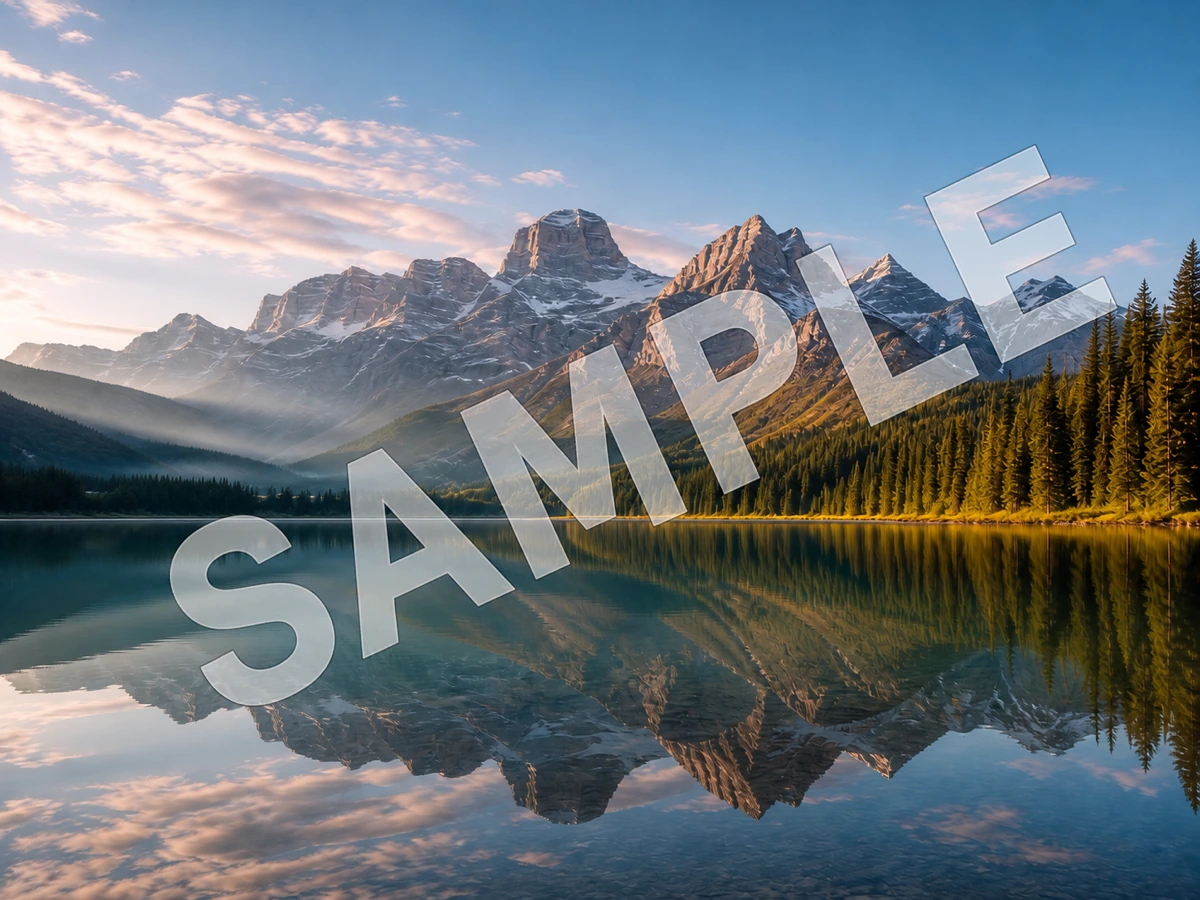
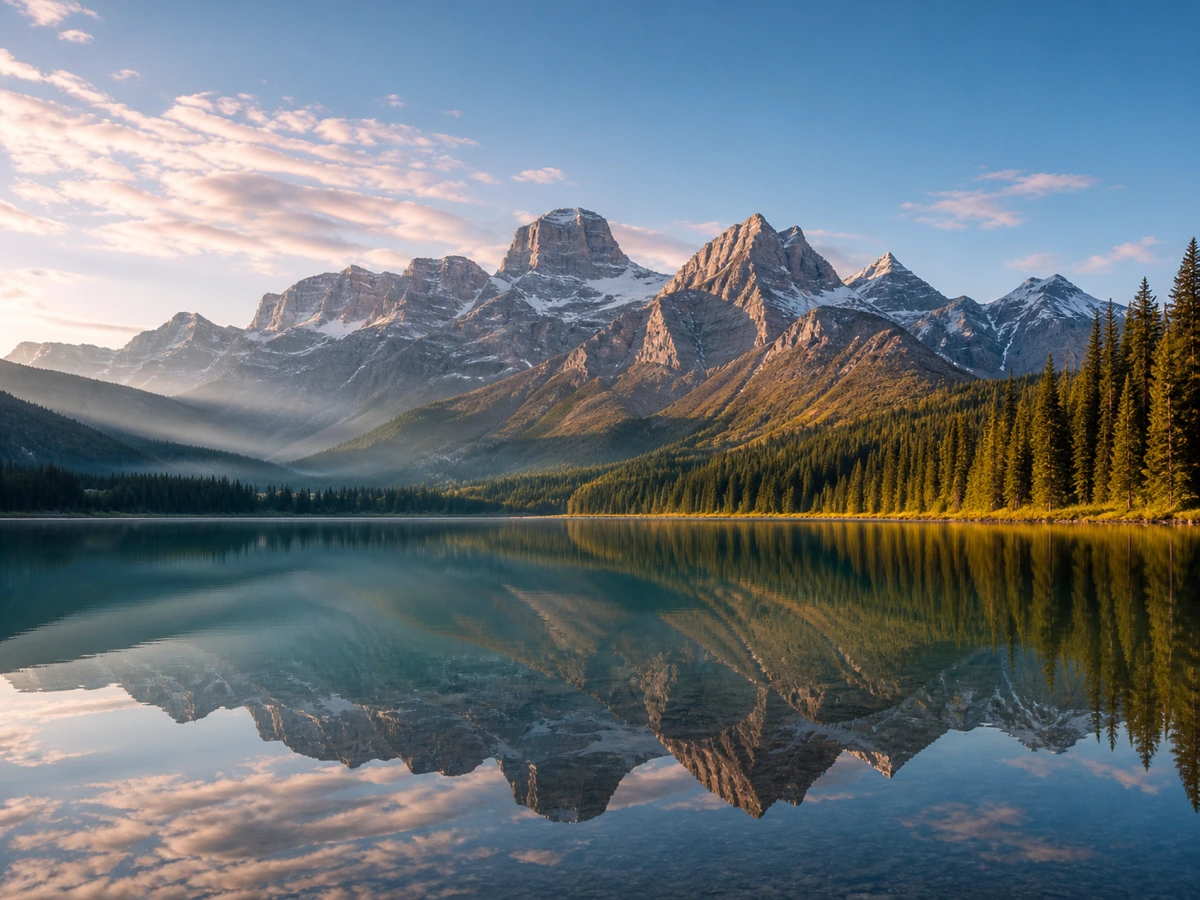
Several visible draft stamps overlap a textured campaign background. The retry focuses on the remaining marks without requesting changes to the typography or subject.
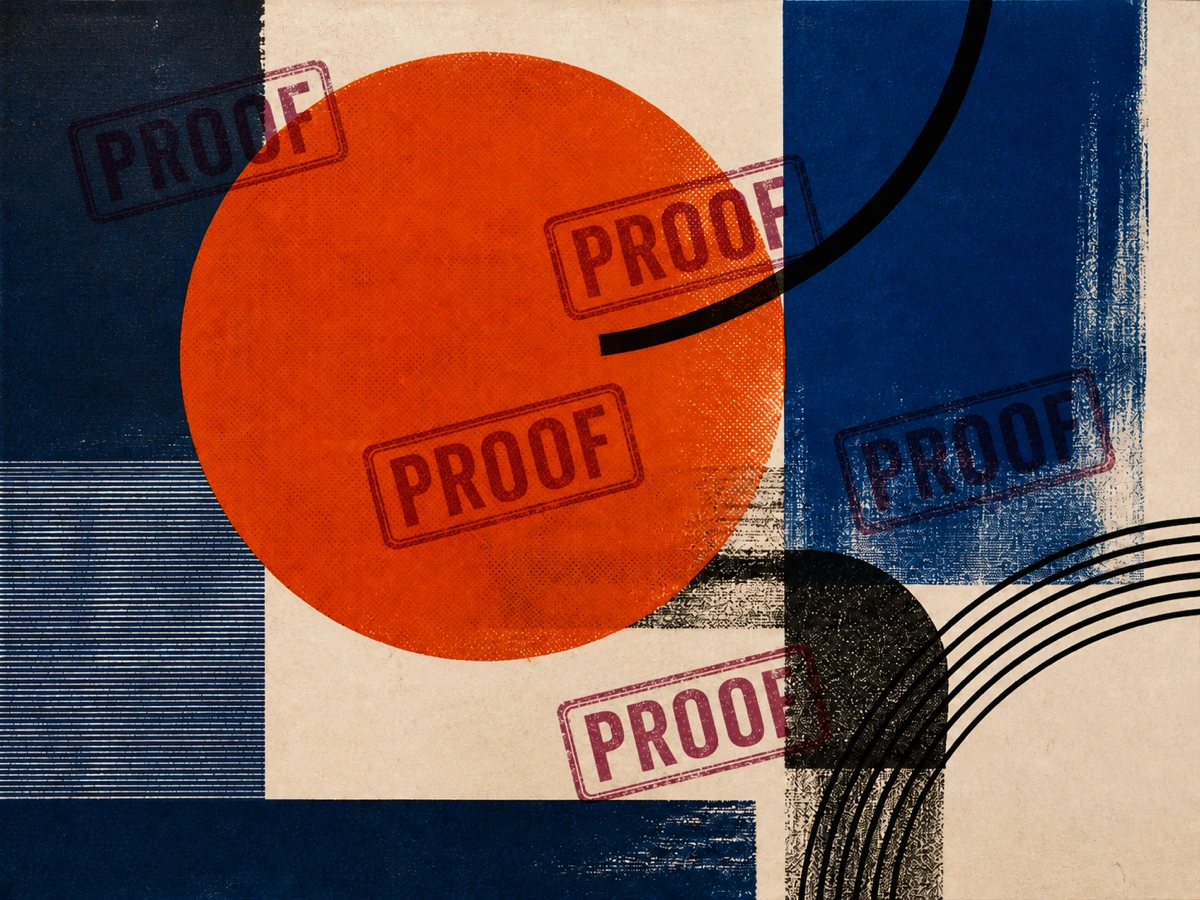
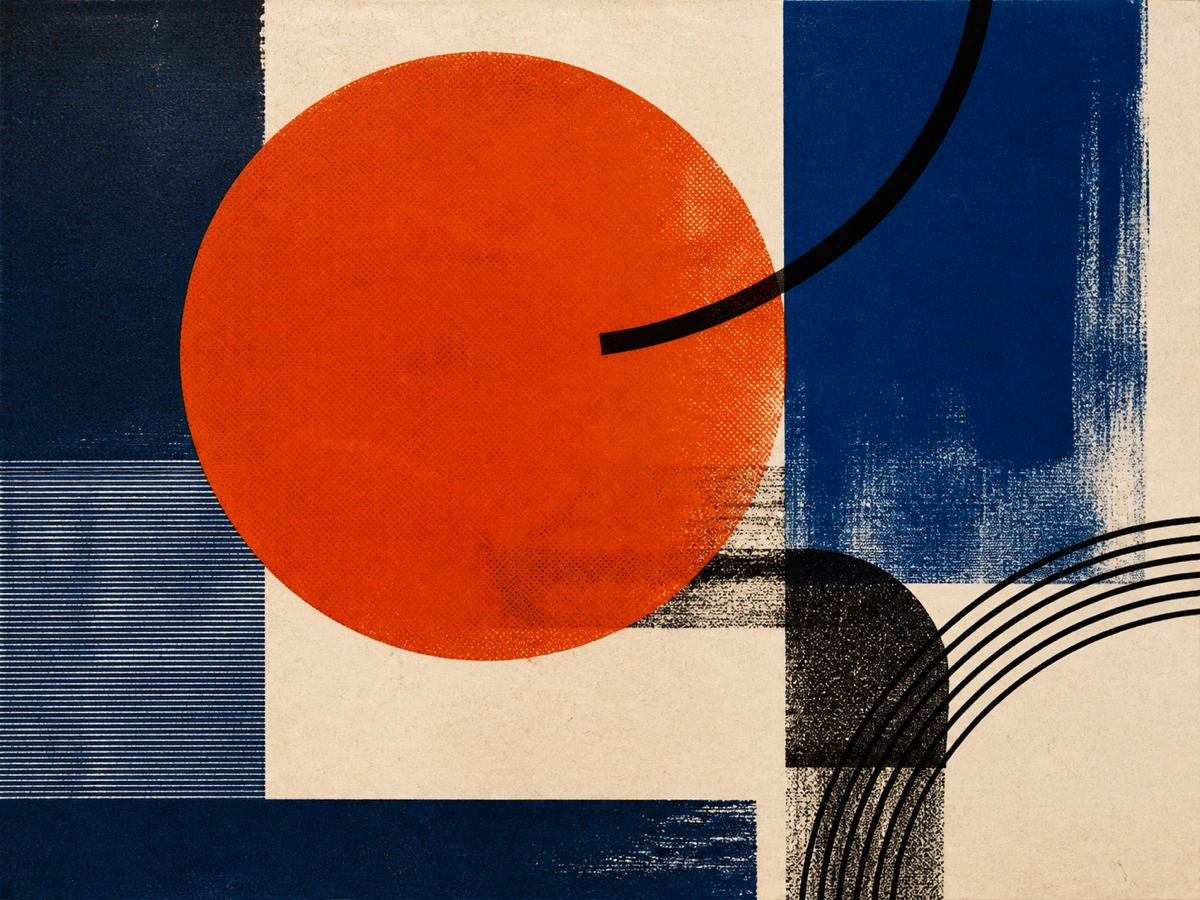
Use a specific instruction and review the output as an edit, especially when the mark crosses detailed content.
Choose a JPG up to 1 megapixel, or a PNG/WebP up to 4 megapixels; files may be up to 10 MB. Confirm that you own the image or have permission to modify it.
Identify its position, color, opacity, or shape. Name the subject, text, texture, lighting, and composition that should remain unchanged.
Spend 30 site credits to create one result. Zoom in on edges and repeated textures; refine the instruction and retry if the reconstruction changes unrelated details.
The common thread is permission: use prompt-guided cleanup on assets your team owns, licenses, or is explicitly authorized to revise.
Remove an outdated logo from a product or campaign export when the editable source file is unavailable.
Clean visible DRAFT or APPROVED overlays from in-house artwork after the review stage is complete.
Reconstruct the area behind an old date badge on creative your organization controls.
Edit a supplied, licensed asset only when the license or rights holder permits removing its visible overlay.
Update client-owned artwork under an explicit editing brief while preserving approved brand elements.
Remove an editor or workflow label accidentally baked into a team-owned flattened image.
Start with the visible mark, then add preservation constraints. These patterns are editable starting points, not guarantees.
Best for a small mark over a plain or softly graded area.
“Remove the small white logo in the bottom-right corner and reconstruct the tabletop and soft shadow naturally. Keep the product, label, crop, color, and lighting unchanged.”
Name the corner and the background material so the repair target is unambiguous.
Best for a semi-transparent wordmark crossing several regions.
“Remove the translucent text across the center. Rebuild the sky, mountain edge, and lake reflection continuously, preserving the horizon, color grade, grain, and framing.”
List every surface crossed by the text and call out long edges that must stay aligned.
Best for a mark over fabric, foliage, architecture, or a pattern.
“Remove only the visible proof marks. Continue the surrounding woven texture and repeating geometry consistently. Do not alter the person, headline, logo, or any unmarked area.”
Use “only” and name protected elements; on a retry, describe the exact remaining artifact.
This is generative reconstruction, not recovery of the original pixels hidden by a watermark. The output is a plausible new rendering based on visible context and your instruction.
If the mark hides critical factual detail, return to the authorized original or layered source rather than treating a generated guess as evidence.
Choose by workflow, media, and control. This comparison reflects the capabilities each product publishes on its official page; it does not claim a speed or quality winner.
| Best for | Nano Banana Pro | WatermarkRemover.io | Pixelbin |
|---|---|---|---|
| Interaction style | Prompt-guided editing: describe the visible mark and what should remain intact. | Automatic processing designed to identify and remove watermarks with minimal direction. | Automatic removal plus a published manual erase mode for additional selection control. |
| Supported media | One JPG, PNG, or WebP image per run. | A broader automatic offering that publishes image, PDF, and video workflows. | Image-focused watermark removal with multiple published removal models. |
| Selection and control | Text instructions identify the mark, reconstruction context, and preservation targets; there is no brush or mask. | The official product page emphasizes automatic detection and processing. | Offers both automatic and manual erase paths, depending on the workflow selected. |
| Batch use | Single-image workflow; no batch queue on this page. | Commercial and premium plans publish bulk or batch image watermark removal. | Publishes bulk watermark-removal workflows. |
| Clearest decision rule | Choose it when you want to state what to remove and what the reconstruction must preserve in one image. | Choose it when automatic handling across image, PDF, or video is the main requirement. | Choose it when automatic/manual selection or bulk image processing is central to the job. |
A visible watermark can communicate ownership, licensing, approval state, or source. Removing it does not grant rights to the underlying work.
Use the tool for images you created, assets covered by an appropriate license, or work the rights holder explicitly authorized you to edit. Do not use it to clean unlicensed stock previews, photographer proofs, or protected works.
Retain the license, client approval, source file, and edit brief that establish why your team may modify and publish the result.
This page targets visible overlays in rendered pixels. It does not promise to remove or alter C2PA metadata, SynthID, Content Credentials, or other embedded or invisible provenance signals.
Copyright and attribution rules vary by work and jurisdiction, and removing copyright management information can carry legal risk. This page offers workflow guidance, not legal advice.
Official pages used to scope the comparison and responsible-use guidance. Links are informational and are not affiliate links.
Short answers about the workflow, supported files, credits, quality limits, and responsible use.
You upload one image, describe the visible mark and the details to preserve, confirm your editing rights, and generate a new result. The covered area is reconstructed from context; it is not copied from hidden source pixels.
No. This is a prompt-guided editor, not an automatic detector. Describe the mark’s position, appearance, and background, then name anything that must remain unchanged.
No. Once a visible overlay obscures pixels in a flattened image, the tool cannot retrieve the original hidden data. It generates a plausible reconstruction, which may differ from the source.
Upload one JPG up to 1 megapixel, or a PNG/WebP up to 4 megapixels; files may be up to 10 MB. GIF, PDF, and video files are not accepted by this page.
Expect a harder reconstruction. Identify the face, edge, text, or repeating texture that must stay consistent, inspect the whole output, and retry with a narrower instruction. Use the authorized source file when factual accuracy matters.
Each generation uses 30 site credits and produces one result. A retry is another generation, so review and refine your prompt before running it again.
No. Only edit content you own, license for this purpose, or have explicit permission to modify. Removing a visible mark does not transfer copyright or erase attribution obligations.
No. The page edits one visible image at a time and does not claim to remove metadata, Content Credentials, C2PA information, SynthID, or other embedded signals. It also does not offer batch, PDF, or video processing.
Upload an authorized JPG, PNG, or WebP, identify the visible mark, and tell the editor exactly which details should survive the reconstruction.