Mask-guided scribble removal

Remove Scribbles from Photo

Remove scribbles from photos you own or are allowed to edit. Brush over pen marks, marker lines, doodles, or accidental strokes, keep the rest of the frame untouched, and let the tool rebuild only the region you selected.

  • JPG · PNG · WebP
  • Brush-first freehand mask
  • Undo and multi-region masks
  • 30 credits per image

Source image / 01

Upload the photo that contains the scribbles you want gone.

30 credits

Drop an image to begin

JPG, PNG, or WebP · 10 MB max · 128–4,096 px per side

Canvas / mask preview

100%

Your mask canvas appears here

Upload a photo to brush over the scribbles, then generate a clean rebuild.

Scribble removal studies

Three scribble problems this page is built to solve

Each study shows the same decision: the hand-drawn marks are the target, and everything around them—subject, product, texture, and composition—is a preservation goal. Results are reconstructions of the covered area, not recovered pixels from beneath the ink.

Illustration notice: the before / after stills below are AI-generated illustrative images created to show the kind of marks this workflow targets. They are not screenshots of output produced by this tool, and no live provider run was used to create them. Run the tool with your own photo to see the real result.

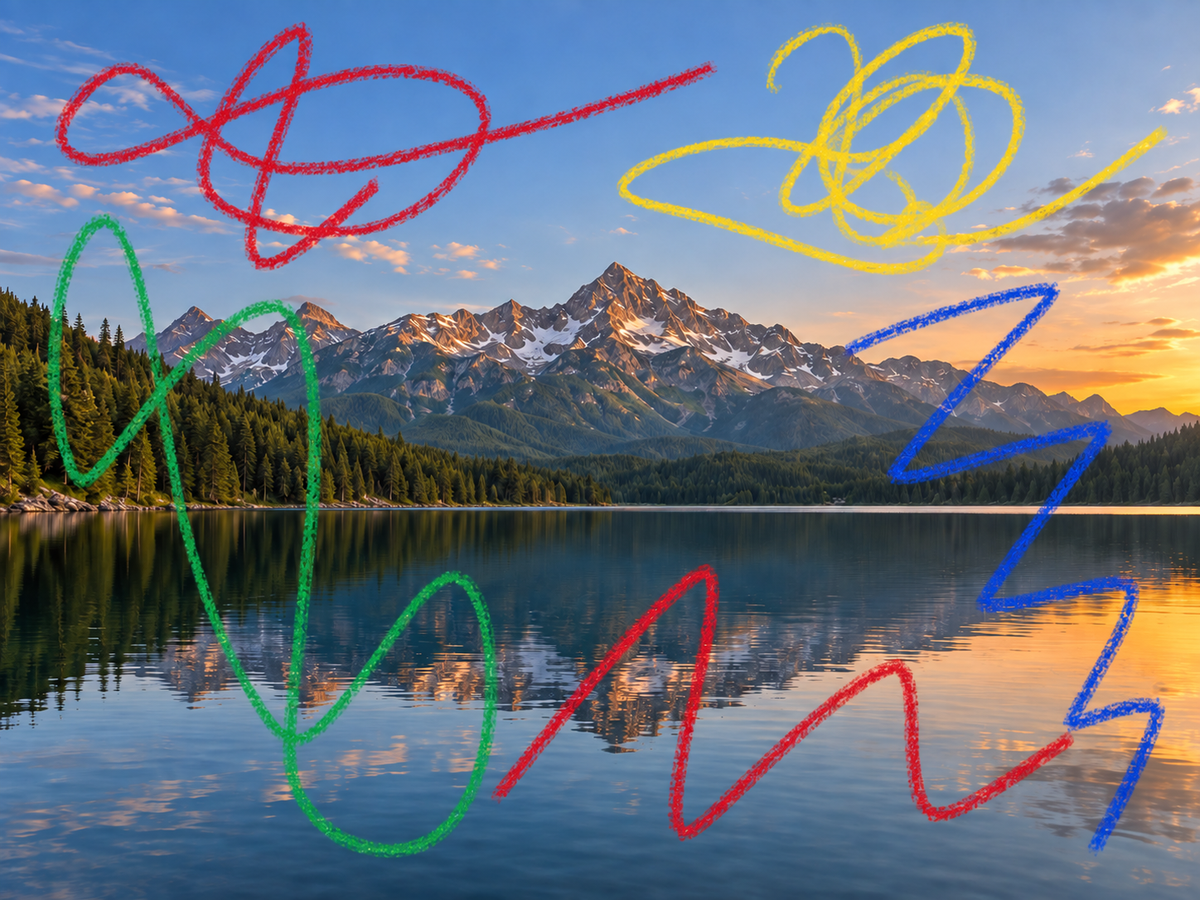
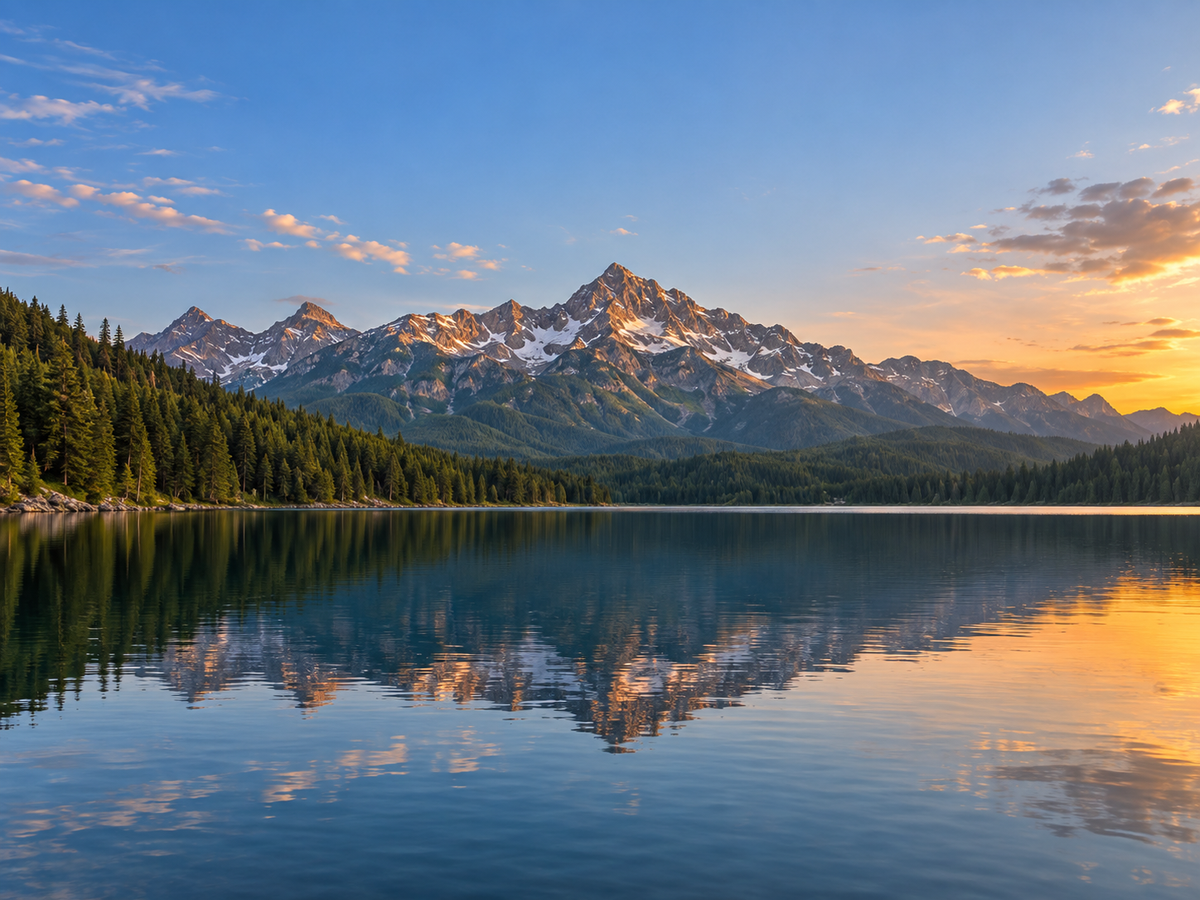
Case 01 · AI illustration · landscape / colored lines

Colored pen lines across a landscape photo

A child drew bright colored strokes over a mountain and lake photo. The brush follows the irregular lines so the sky gradient, water reflection, and horizon keep their original pixels.

AI illustration still
AI illustration of a landscape photograph with bright colored pen lines drawn across the sky and lake
AI illustration · colored pen lines
AI illustration of the same landscape with the colored pen lines removed and the sky and water rebuilt
AI illustration · marks removed

ReviewZoom into the repaired sky and water for banding or a faint color ghost where the pen crossed a gradient.

Case 02 · AI illustration · product / hand-drawn marks

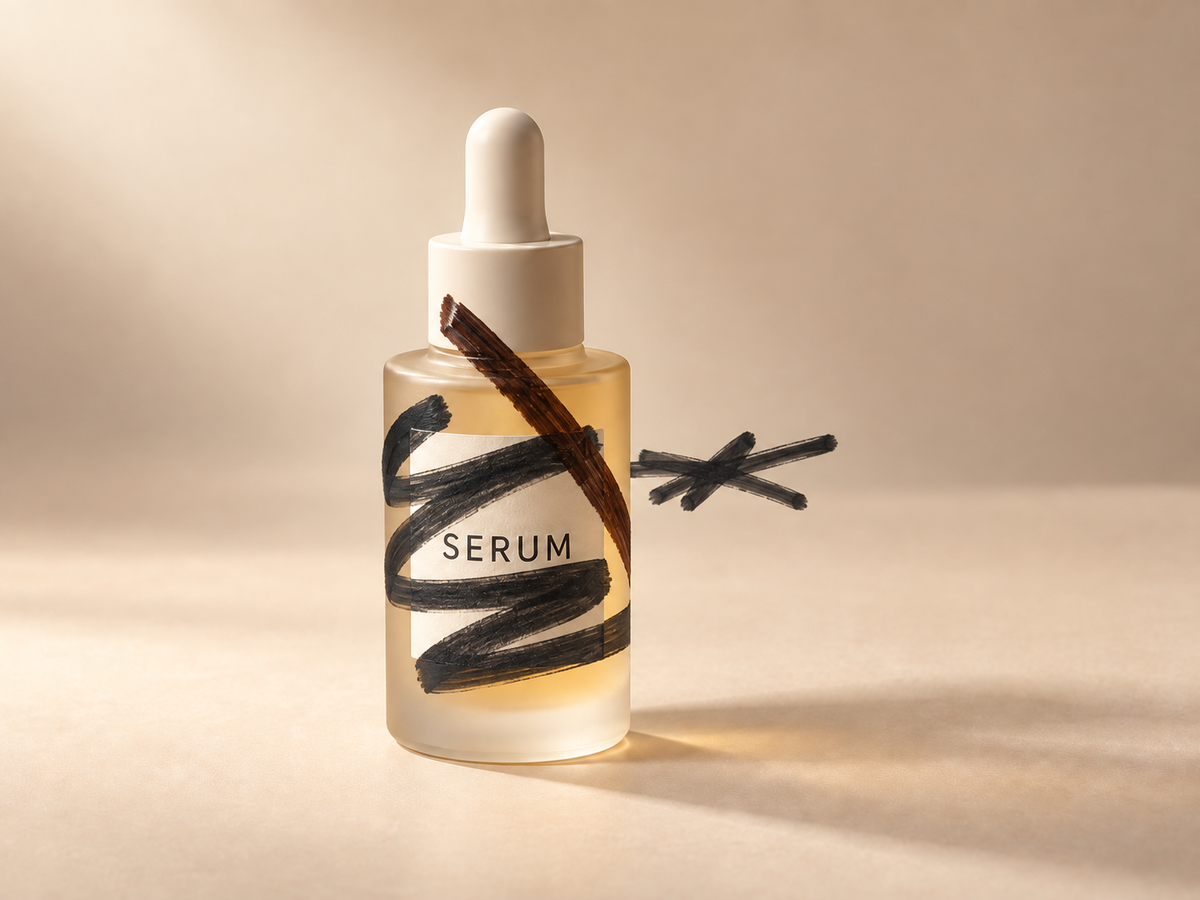
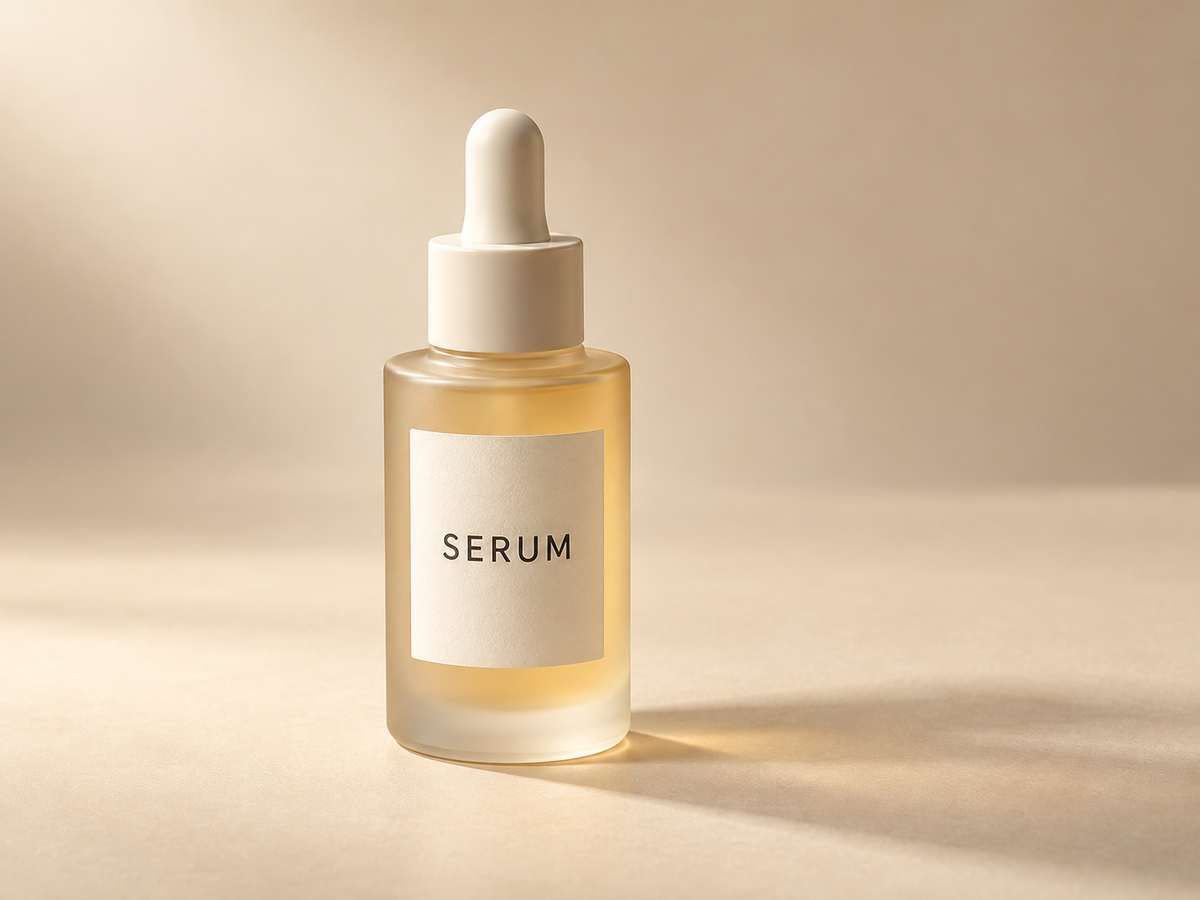
Marker marks over a product photo

Thick marker strokes were drawn over a studio product shot to hide a price. Masking just the ink lets the tool continue the smooth backdrop and the product edge instead of regenerating the product.

AI illustration still
AI illustration of a product photograph with thick hand-drawn marker marks over the packaging
AI illustration · marker marks
AI illustration of the same product with the marker marks removed from the packaging and backdrop
AI illustration · marks removed

ReviewCompare the product outline, label text, reflections, and shadow direction against the source at 100%.

Case 03 · AI illustration · scenery / light doodle

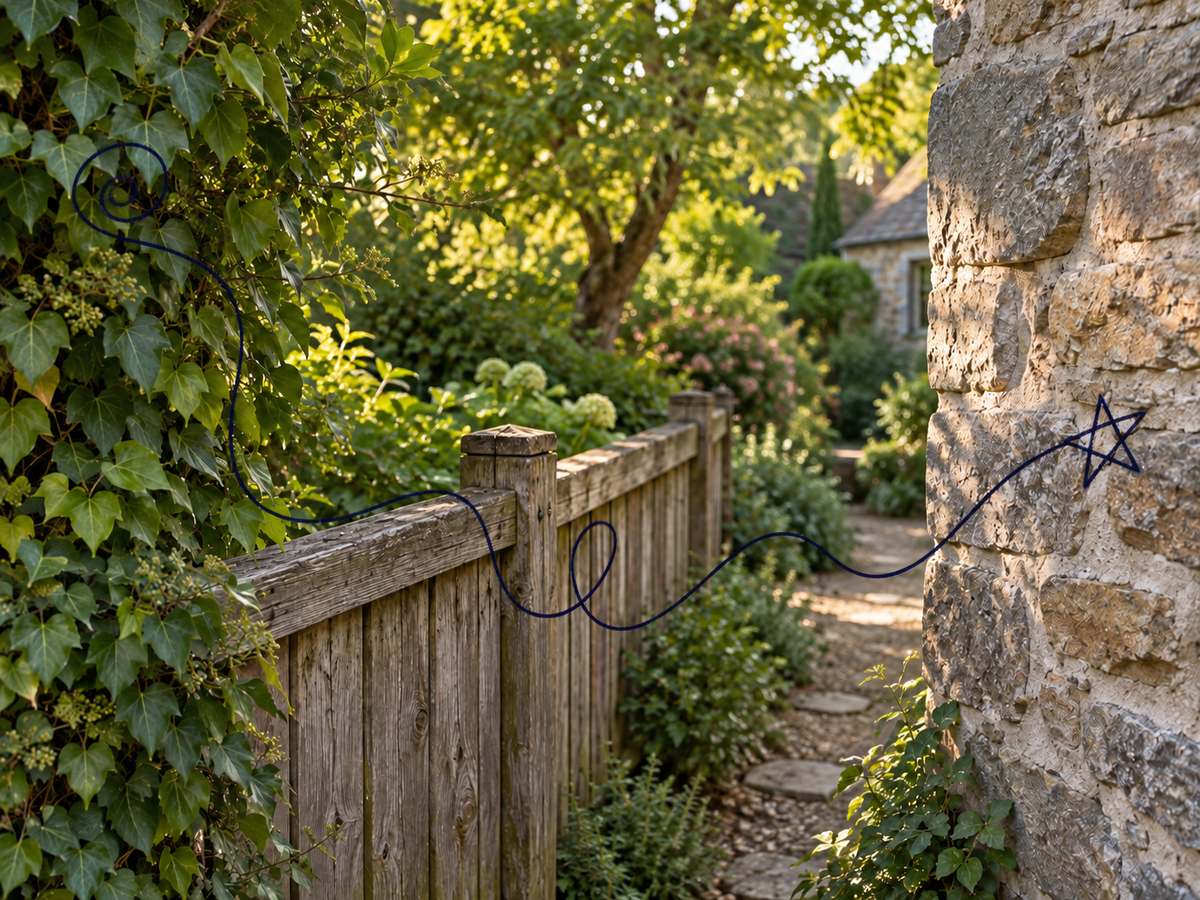
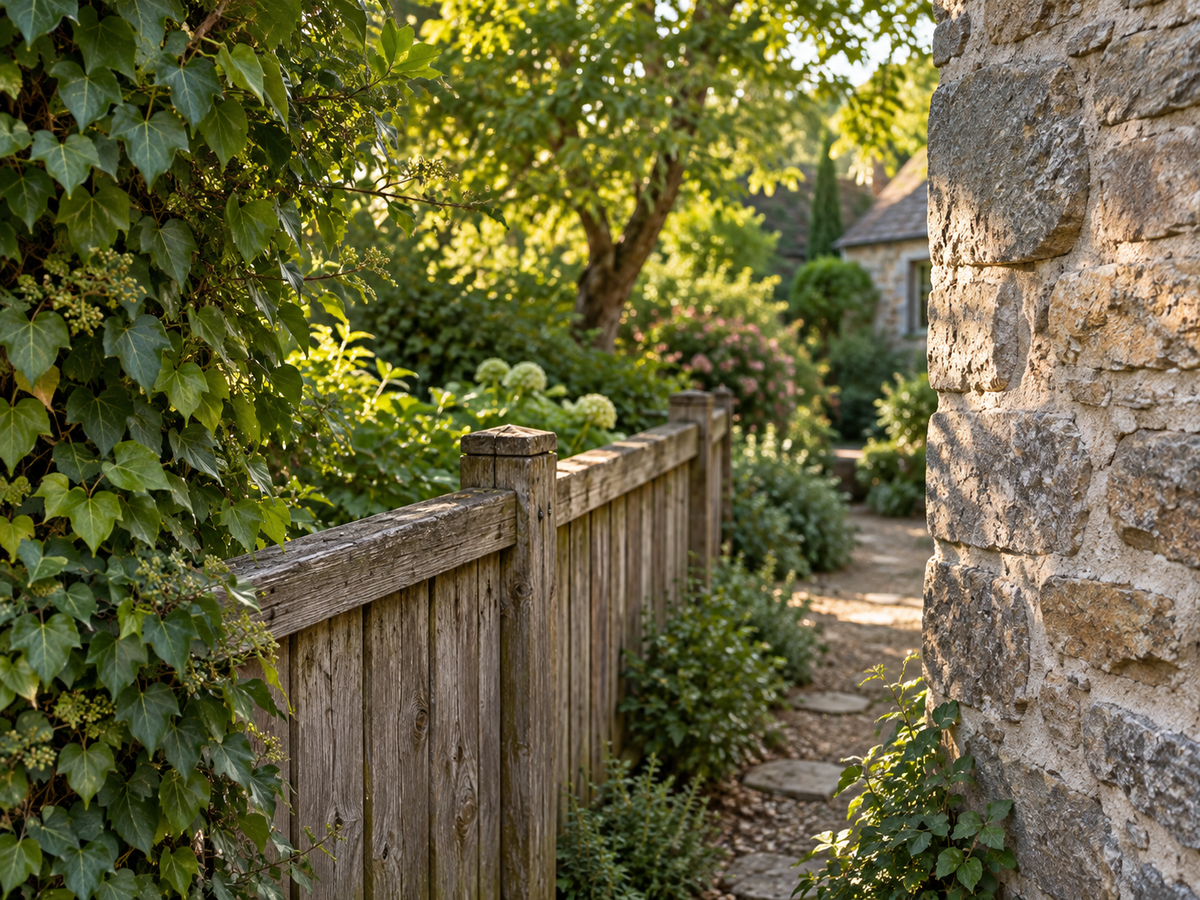
A light doodle scribbled over scenery

A thin ink doodle crosses foliage, a fence, and a textured wall. A tighter brush stroke follows the lines so nearby leaves, wood grain, and mortar are not asked to change.

AI illustration still
AI illustration of outdoor scenery with a light ink doodle scribbled across foliage and a wall
AI illustration · light doodle
AI illustration of the same scenery with the light ink doodle removed from foliage and the wall
AI illustration · marks removed

ReviewInspect the busy texture where the doodle crossed; repeating patterns are the hardest area to rebuild.

Definition

What does “remove scribbles from photo” mean here?

Removing scribbles from a photo means painting a mask over the hand-drawn marks you want gone, then rebuilding the pixels underneath so the surface looks continuous. It is an inpainting job: the tool only edits the masked region and leaves the rest of the picture alone.

People usually mean one of two things by this phrase. The first is undoing marks while they are still editable—deleting a layer or a brush stroke inside a drawing app. The second is cleaning marks that are already flattened into pixels, such as a pen line exported into a JPEG, a marker scrawl over a packshot, or a doodle saved by a camera. This page handles the second job and links to editing tools for the first.

Because a flattened photo no longer stores the pixels hidden under the ink, no tool can recover the exact original surface. The realistic goal is a plausible reconstruction: match the surrounding colour, texture, lighting, and perspective so the repaired area stops drawing attention. Mask-guided inpainting makes that goal controllable, because you decide precisely which pixels are allowed to change.

The workbench therefore centers on drawing rather than on typing. A freehand brush follows a curving doodle, a straight marker stroke, or a thin pen line, while a rectangle is fast for a block of scribble over a flat area. Multi-region selection and undo mean one task can clean a doodle on a wall, a marker line on a product, and a stray pen stroke in the corner without starting over.
Practical workflow

How to remove scribbles from a photo in 3 steps

The sequence is short because the important decision—what may change—is made visually in the workbench before anything is submitted.

  1. 01

    Upload one photo

    Choose a JPG, PNG, or WebP file up to 10 MB. Each side must be between 128 and 4,096 pixels, JPEG is capped at 1 megapixel, and PNG or WebP at 4 megapixels. The page checks the decoded image, not just the extension.

    Work from the highest-quality copy you have; heavy JPEG artifacts make the rebuild harder.

  2. 02

    Brush over the scribbles

    Switch to the brush and paint over every mark you want gone, resizing the brush for thick and thin lines. Use a rectangle for dense clusters, zoom in for small strokes, and undo any selection that grabs more than the ink.

    Confirm the mask covers the full thickness of the marks and nothing that must be preserved, such as a logo, a face, or a product label.

  3. 03

    Generate, review, and download

    Press Generate to rebuild the masked regions. Each run costs 30 site credits and produces one image. Compare the result with the original using the slider, then download the finished PNG or retry with a tighter mask.

    Inspect the repaired area at 100% and confirm no ink trace survives and no unselected content changed.

Selection toolkit

Brush the marks, then rebuild only that region

Selection is the real skill on this page. The tighter the mask follows the ink, the less the model has to guess, and the more of your original photo survives untouched.

01

Freehand brush selection

Paint directly over doodles, curving pen lines, and irregular marker strokes with an adjustable round brush. Strokes are stored as smooth paths so they scale back to the full-resolution mask.

Best forDoodles, marker scrawls, and lines that cross several textures.

02

Rectangle selection

Drag a box around a dense cluster of scribbles or a short straight stroke sitting on a flat surface. Fast, predictable, and easy to enlarge slightly when the ink has a soft edge or a shadow.

Best forBlocks of scribble, straight marker lines, and flat backgrounds.

03

Multiple regions and undo

Add as many brush strokes or boxes as the photo needs, then remove the last action with Undo or clear everything and start again. Each region is part of one mask and one task.

Best forPhotos with several separate marks, like a doodle plus a stray pen line.

04

Zoom before you commit

Zoom the canvas to place the mask precisely on thin lines and small marks. Selection coordinates are stored in image space, so the exported mask always lines up with the uploaded pixels.

Best forThin pen lines, small marks, and high-resolution photographs.

Cover the full thickness of the ink, including anti-aliased edges and any shadow. A mask that stops halfway through a marker stroke often leaves a visible line behind.

Method selection

Mask-guided removal vs other ways to clean scribbles

Different cleanup methods change different amounts of the photo. Choosing the right one is mostly about how much of the original image you need to keep.

MethodWhat changesControl you keepBest forMain risk
Mask-guided inpaintingOnly the masked region is rebuiltYou brush the exact ink region with freehand strokesDoodles, marker marks, and pen lines on photos you must preserveA poor mask leaves a halo or misses part of a line
Prompt-only regenerationThe whole frame may be reinterpretedYou describe the change in words and hope the model localizes itCreative restyling where exact preservation is not requiredUnrelated faces, products, or textures can drift
Clone or heal by handA manually sampled patch is copied over the marksYou place every sample and blend by handTiny marks where a human editor wants frame-by-frame controlRepeating patterns and gradients are hard to match by eye

No method recreates the true hidden pixels of a flattened photo. Mask-guided inpainting reduces unintended changes; it does not guarantee a perfect reconstruction.

Use cases

When a scribble-free version of a photo is useful

Most legitimate jobs share one condition: you own the photo, license it for this purpose, or have the rights holder’s permission to modify it.

01

Rescue a photo a child drew on

Did someone add pen, crayon, or marker marks to a family photo or a printed picture you scanned?

Try this: Brush each colored line separately and keep the mask on the ink only, so faces, skin tones, and backgrounds reuse their original pixels.

ReviewCheck skin and hair where the lines crossed them; smooth gradients show a faint color ghost first.

02

Clean a product or listing photo

Was a packshot or marketplace listing marked up with a price, a circle, or an approval scrawl?

Try this: Use a tight brush for thin marks and a small rectangle for dense scrawls, and separate each marked area into its own region so one bad patch is easy to undo.

ReviewVerify packaging text, logos, and straight edges that must stay identical to the source.

03

Prepare photos for print or a portfolio

Do you need a clean version of a landscape or travel photo that has old annotation marks?

Try this: Zoom in and follow curving doodles with the brush, and avoid selecting large flat areas that the model can rebuild cleanly from their own surroundings.

ReviewLook for a faint outline where the doodle used to be, especially over skies, water, and brick.

Commercial comparison

Nano Banana Pro vs Adobe Photoshop vs Canva

These options overlap, but they make different trade-offs between cost, installation, and control. The comparison focuses on the decision that matters here: how precisely you can select the scribble region and how much of the original photo survives. Competitor names appear for clarity; this page does not send you to competitor sites.

Workflow comparison reviewed

Decision pointNano Banana ProAdobe PhotoshopCanva
Getting startedThe first screen is the tool itself: open the page, upload, brush, and generate with no install and no account setup beyond signing in.Requires a desktop or tablet install and a paid subscription before you can retouch anything.Runs in a browser but is built around design projects, so you create a design before you can clean a photo.
Selection modelFreehand brush and rectangle selection with multiple regions, undo, clear, and canvas zoom before you submit.Industry-standard selection and Generative Fill, but the precise brush, layer, and mask work is manual.One-click Magic Eraser and Magic Edit tools that choose the repair area for you.
What the model is allowed to changeOnly the masked region is rebuilt; the source pixels outside the mask are the preservation target.Generative Fill follows your selection, but output depends on your selection quality and layer workflow.The result depends on the specific Magic tool and how it interprets your prompt or brush.
Review loopZoom, undo the last region, and compare original against result with a slider before downloading.Review happens across layers and history states, which is powerful but slower to learn.Review happens inside the design project alongside unrelated layout edits.
Cost behavior on this page30 site credits per generated image; selection, zoom, undo, and the comparison slider are free.A recurring subscription is required whether or not you remove a single scribble.A free tier exists, but the strongest cleanup features and exports sit behind a paid plan.

Choose Nano Banana Pro when you want to decide the exact scribble region, keep everything else as-is, and review a mask-guided rebuild before downloading without a subscription. Choose a full editor when the cleanup is one step inside a larger professional retouching workflow.

Operating facts

Formats, limits, credits, and data flow

The workbench validates these boundaries before a paid task starts. They describe the implemented page, not a promise that every reconstruction will be invisible.

Public input limits

JPGPNGWebP
  • Upload one JPG, PNG, or WebP image no larger than 10 MB.
  • Each side must be between 128 and 4,096 pixels.
  • JPEG inputs are capped at 1 megapixel; PNG and WebP inputs are capped at 4 megapixels.
  • The selection mask is uploaded alongside the source and must match its dimensions; the server rejects mismatched pairs.
  • Exactly one image is produced per task. The result is available through the authenticated download route.

One generated image costs 30 site credits. Selecting, zooming, and comparing do not repeat the task.

What happens to an uploaded photo

Selection and mask drawing happen in your browser. On upload, the server checks the actual image container, size, dimensions, and content moderation result, then stores both the source and the mask under your signed-in account. Before generation, the server verifies that both stored references belong to you and that the mask matches the source dimensions.

The generation task is created through the existing workbench provider path, which reserves credits, tracks the task, handles provider failures, and refunds failed runs. Completed images are fetched through the authenticated download route, so a result is only served to the account that requested it.

Credits are checked and consumed by the server when the task starts. Changing the selection, zoom, or comparison slider after a result does not create a new charge, and a retry is a new task.

Common questions

Remove Scribbles from Photo FAQ

Short answers about input requirements, what can change, how the workflow behaves, and what the result can realistically deliver.

How do I remove scribbles from a photo with this tool?+

Upload a JPG, PNG, or WebP photo, then paint over the pen marks, doodles, or marker lines with the brush, or drag a rectangle around a dense cluster. Add every region that should be cleaned, press Generate, review the result with the comparison slider, and download it. The visible steps are upload, brush, generate, and download.

Which marks can I remove, and what stays untouched?+

The tool rebuilds only the region covered by your mask, so pen lines, marker marks, crayon scribbles, doodles, and stray strokes are the target. Everything outside the mask—faces, products, logos, and backgrounds—is meant to stay as-is. If a selection accidentally covers a logo or a face, undo it before generating.

Do I need to select the scribbles manually?+

Yes. This page does not claim automatic scribble or object detection. You mark the ink yourself with the brush or the rectangle, which keeps you in control of exactly what changes. That manual selection is the feature, not a missing automation.

What image formats, sizes, and limits are supported?+

The page accepts JPG, PNG, and WebP files up to 10 MB. Each side must be between 128 and 4,096 pixels. JPEG is limited to 1 megapixel, and PNG or WebP to 4 megapixels. GIF, PDF, and video files are not accepted.

How much does removing scribbles cost, and can I retry?+

Each generated image costs 30 site credits and returns one result. Drawing, zooming, and undoing the selection are free. A retry is a separate task and is charged again, so tighten the mask first. If the provider fails, the task follows the existing refund path for the account.

Will the removed scribbles leave a visible mark or change the rest of the photo?+

The goal is a seamless rebuild, but the result is a generative reconstruction, not the original pixels hidden under the ink. Thick marker strokes, gradients, repeating textures, and drop shadows are the hardest cases and may leave a faint trace. Compare the whole photo at 100%, and refine the mask if the rest of the frame shifted.

Can I remove scribbles from any photo?+

No. Only edit photos you own, license for this purpose, or have explicit permission to modify. Removing visible marks does not grant rights to the underlying work, and you should not use this tool to hide signatures, watermarks, or attribution that you do not have the right to remove. This page offers workflow guidance, not legal advice.

Is my photo stored, and who can download the result?+

Uploads and results are tied to your account and served through authenticated routes, so another user cannot download your output. Task state, credits, and refunds run through the existing workbench workflow. Avoid uploading sensitive material you would not want processed by an AI image service.

Return to the workbench

Brush the marks. Keep the photo.

Start with a photo you are allowed to edit, mask only the scribbles, and rebuild the surface without touching the rest of the frame. Related tools are here when you need a full editor, text removal, or object removal.

Rectangle + brush maskMulti-region with undoAuthenticated download