Depth lab · foreground preserved

Blur Photo Background

Create a blur background effect online without turning the whole photo soft. Upload one image, let the tool map the subject, then tune the blur radius and edge feather before exporting a real PNG composite.

  • JPG · PNG · WebP
  • Subject-aware masking
  • 0–40 px blur radius
  • 10 credits per mask

Source image / 01

Start with one photo where the subject is easy to read.

10 credits

Drop a photo to begin

JPG, PNG, or WebP · 5 MB max · 256–4096 px per side

Result / depth preview

Your result will appear here

The first screen is the workbench. Upload a photo to start.

Definition

What is a blur background tool?

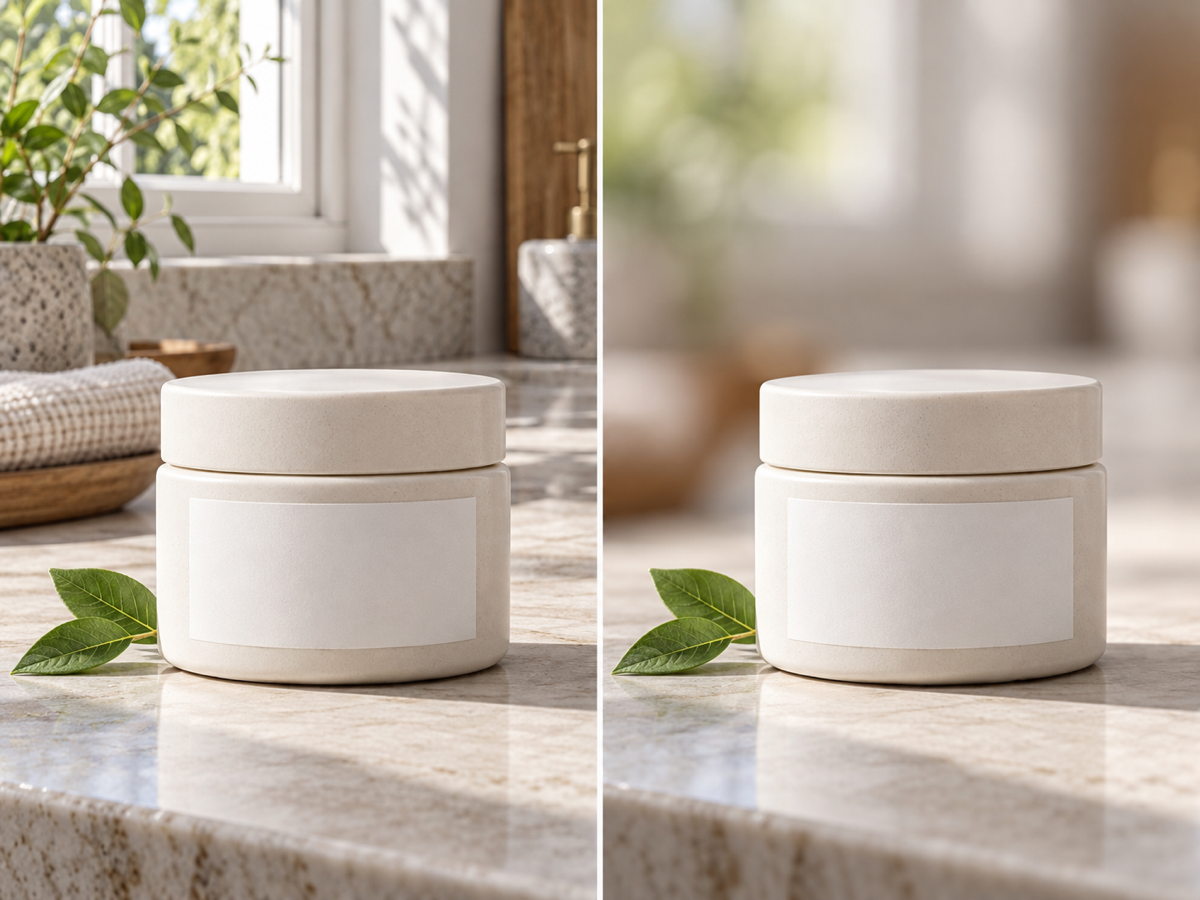
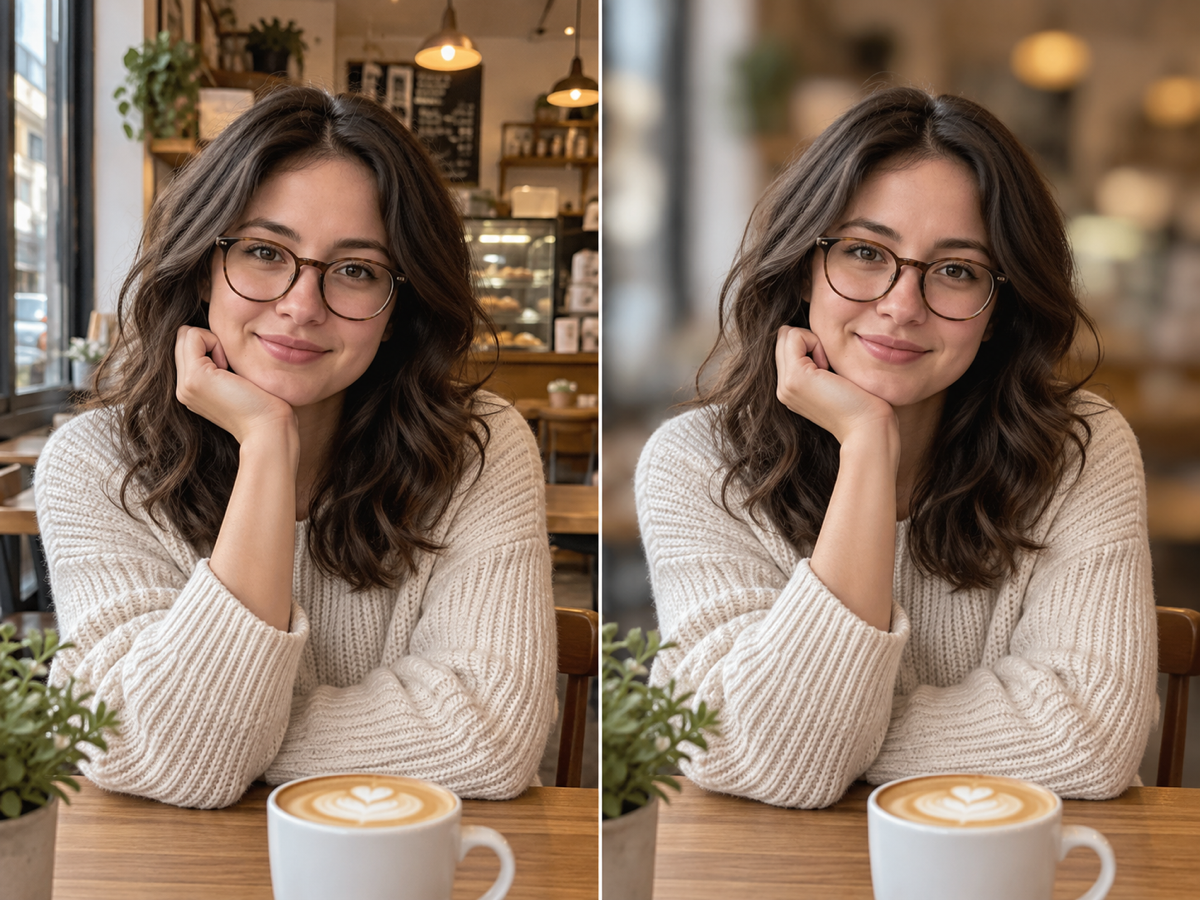
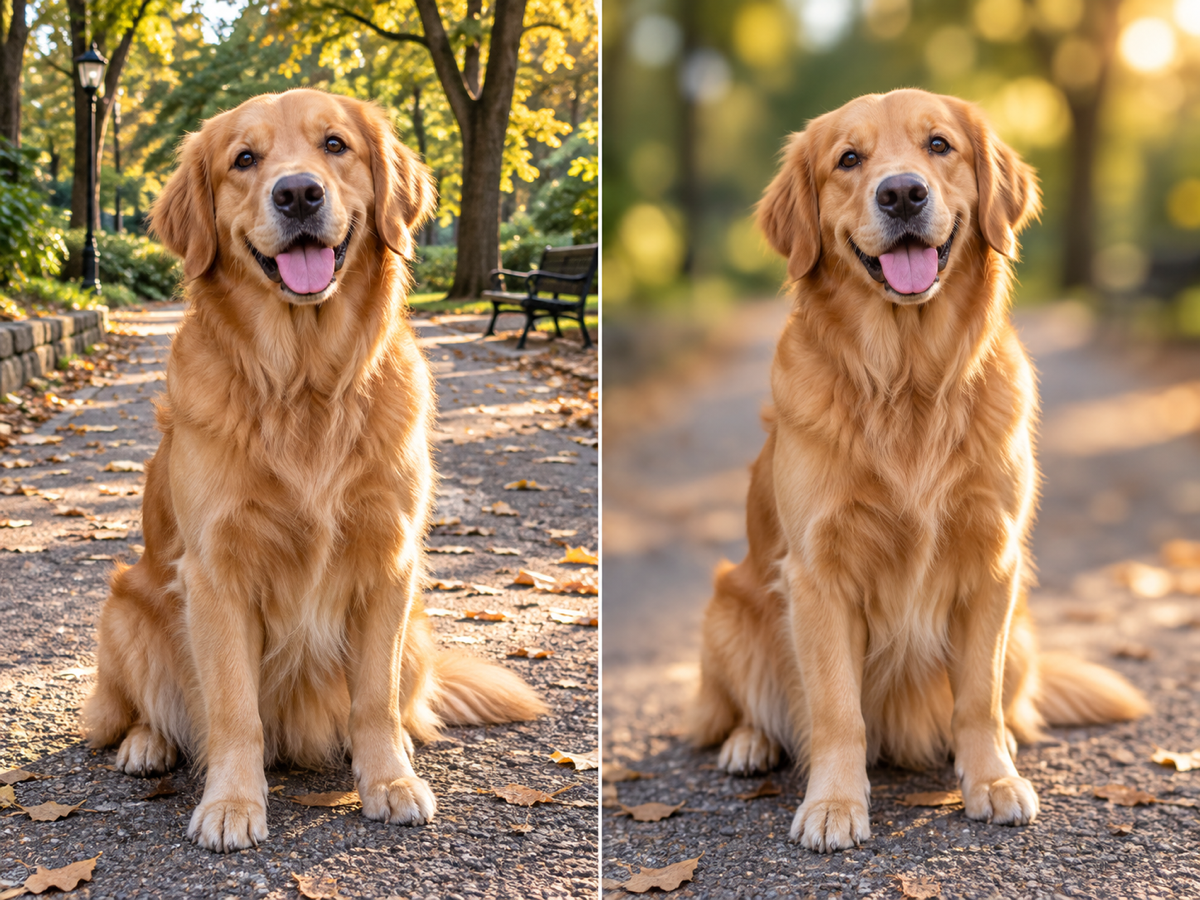
A blur background tool separates the foreground subject from the rest of a photo, blurs the background layer, and composites the original subject back over it. The useful result is not a CSS effect on a preview: it is an exported image with a sharp subject, a softened background, and an adjustable edge transition.

The editing problem has two separate parts. First, the image needs a subject mask that follows the person, pet, or product. Second, the background needs a controllable blur that changes depth without changing the subject. Treating those as one generative prompt makes it harder to preserve identity, labels, and small edges.

This page uses a one-time AI segmentation step for the mask. The browser then uses the uploaded image as the foreground pixel source, draws a blurred copy behind it, and applies the mask with an optional feather. That split makes the control predictable: move the sliders to compare different looks without waiting for another model response.

Practical workflow

How to blur a photo background in 3 steps

The sequence is short because the important decision is visible in the workbench. Start with a usable source, review the mask, then export only the version that survives a close look.

  1. 01

    Upload one photo

    Choose a JPG, PNG, or WebP image between 256 and 4096 pixels on each side and no larger than 5 MB. The page checks the actual decoded image, not just the file extension.

    Use a source where the subject has visible contrast against its surroundings.

  2. 02

    Create the subject mask

    The AI segmentation task maps the foreground once. It costs 10 site credits, and the protected server flow validates the upload, ownership, balance, task state, and failure refund path before processing.

    Look at the first result around hair, fur, transparent objects, and product edges.

  3. 03

    Tune, compare, and export

    Adjust Blur radius from 0 to 40 px and Edge feather from 0 to 12 px. The browser redraws the composite locally, then exports the canvas pixels as a PNG rather than capturing the interface.

    Compare the original and result before downloading the final composite.

Method selection

Blur background vs whole-image blur vs replacement

Each method changes a different layer. Pick the one that matches the job instead of using a stronger effect to compensate for the wrong edit.

MethodWhat changesSubject pixelsBest useMain risk
Subject-aware blurBackground is blurred behind a maskOriginal foreground pixels stay sharpPortraits, pets, products, and natural depthMask halos or missed fine edges
Whole-image blurEvery pixel receives the same softeningSubject detail is softened tooAtmosphere, privacy, or intentional softnessUnreadable faces, labels, and edges
Background replacementThe original scene is swapped or generatedSubject may be preserved, relit, or reinterpretedA new setting is more important than the original sceneNew lighting, shadows, or context can disagree

A blur background edit is not a guarantee of perfect segmentation. Fine hair, translucent fabric, reflective edges, and low-contrast subjects still deserve a human review at the final use size.

Use cases

Choose the radius around the viewer’s attention

The right amount of blur is a communication choice. Stronger is not automatically better; the background should recede while still explaining where the subject belongs.

01

Portraits and profile photos

Does the face need more separation from a room, street, or busy group scene?

Try this: Begin with a moderate radius and a small feather. Keep eyes, hairline, glasses, jaw, and shoulders under review rather than chasing a dramatic bokeh look.

ReviewCompare the result at thumbnail size and at 100%. The best setting usually makes the face easier to find without making the edge look cut out.

02

Pet photos and family moments

Is the subject expressive but surrounded by toys, furniture, grass, or other visual noise?

Try this: Use a lighter blur when fur or whiskers carry the personality. Increase feather only enough to avoid a hard outline around the silhouette.

ReviewCheck ears, whiskers, tail, paws, and the negative space between legs where the mask may be uncertain.

03

Product and marketplace imagery

Would the product read faster if its original environment became quieter?

Try this: Keep the source scene and use a controlled radius. This preserves the product’s material cues while giving the object more visual priority.

ReviewVerify packaging text, logos, reflections, straight lines, and exact color before the image is used commercially.

Commercial comparison

Nano Banana Pro vs remove.bg vs Canva

These tools solve overlapping background-editing jobs in different ways. The comparison focuses on the decision that matters here: how much control you retain after the subject is separated. Competitor names are included for clarity; this page does not send users to competitor sites.

Workflow comparison reviewed

Decision pointNano Banana Proremove.bgCanva
Primary workflowUpload once, create a subject mask, tune blur and feather locally, compare, and export a PNG composite.Background removal with a separate blur-oriented workflow for softening the scene around a subject.A broader design editor where background focus and layout work can happen in the same project.
After the mask is readyNumeric 0–40 px blur and 0–12 px feather sliders redraw the result without another paid AI task.Useful when the main goal is a transparent cutout or a quick background treatment.Useful when the next step is composing the image with text, templates, or other design elements.
Foreground preservationThe sharp foreground is drawn from the uploaded source image, not regenerated by the blur control.The workflow is centered on separation; inspect the current export path for the exact edit behavior you need.The editor supports many workflows, so the final pixel treatment depends on the selected tool and settings.
Best fitA focused blur-background edit where adjustable depth and a reviewable PNG matter.Fast background removal when a transparent subject is the main deliverable.Design production that needs the photo edit alongside a larger canvas or campaign layout.
Cost behavior on this page10 site credits for the one-time AI mask; local slider changes and exports do not repeat that task.Plan and export rules depend on the current product path and account.Plan, feature, and export rules depend on the current editor and account.

Choose Nano Banana Pro when the desired output is a sharp original subject over a tunable soft background. Choose a cutout-first service when transparency is the deliverable, or a design editor when the blur is one step inside a larger composition.

Operating facts

Formats, limits, credits, and data flow

The public workbench validates these boundaries before a paid task starts. They describe the implemented page, not a promise that every image will produce a perfect mask.

Public input limits

JPGPNGWebP
  • Upload one JPG, PNG, or WebP image no larger than 5 MB.
  • Each side must be between 256 and 4,096 pixels.
  • JPEG inputs are capped at 1 megapixel; PNG and WebP inputs are capped at 4 megapixels.
  • The result is exported as a PNG composite after local blur and feather settings are applied.

One subject mask costs 10 site credits. Local finishing does not repeat the task.

What happens to an uploaded image

The browser reads dimensions for immediate feedback. On upload, the server checks the actual image container, size, dimensions, and content moderation result, then stores the image record under the signed-in account. Before generation, the server verifies that the stored reference belongs to that account.

The AI task creates one foreground mask through the existing workbench provider path. The completed PNG is fetched through the authenticated download route, then the browser composites the original upload and mask locally. Task state, output ownership, credits, and refund handling stay in the existing server workflow.

Credits are checked and consumed by the server for the segmentation task. Adjusting Blur radius, Edge feather, or the comparison divider does not create a new task.
Common questions

Blur Photo Background FAQ

These answers separate the page’s implemented limits from editorial advice about choosing and reviewing a blur.

What does the blur background tool keep sharp?+

The final foreground layer is drawn from the uploaded source image and clipped by the AI subject mask. The background copy is blurred behind it, so the blur control does not regenerate the face, fur, packaging, or other subject details.

Can I adjust the blur after the AI task finishes?+

Yes. Use Blur radius from 0 to 40 px and Edge feather from 0 to 12 px. Those changes redraw the composite in your browser and do not start another paid segmentation task.

Which images can I upload?+

The page accepts JPG, PNG, and WebP images up to 5 MB. Each dimension must be between 256 and 4,096 pixels. JPEG is limited to 1 megapixel, while PNG and WebP are limited to 4 megapixels.

How many credits does blurring a photo cost?+

The AI subject-mask task costs 10 site credits on this page. The blur slider, feather slider, comparison control, and PNG export happen locally after the mask is available and do not repeat the 10-credit task.

Will it blur hair, fur, or transparent objects perfectly?+

No image segmentation tool can promise perfect edges for every source. Hair, fur, translucent fabric, reflections, and low-contrast subjects need a close review. Use Edge feather sparingly and compare the result with the original before publishing.

Is the download a real edited image or a screenshot?+

It is a PNG generated from the composite canvas pixels. The download contains the blurred background and masked original foreground, not the surrounding page UI or a CSS-only preview.

Return to the depth lab

Blur the context, keep the subject

Start with a photo you can inspect, create one subject mask, then choose the amount of depth that serves the image. Related tools are available when you need a transparent cutout, generative editing, or a different canvas.

Original subject pixelsLocal controlsPNG export