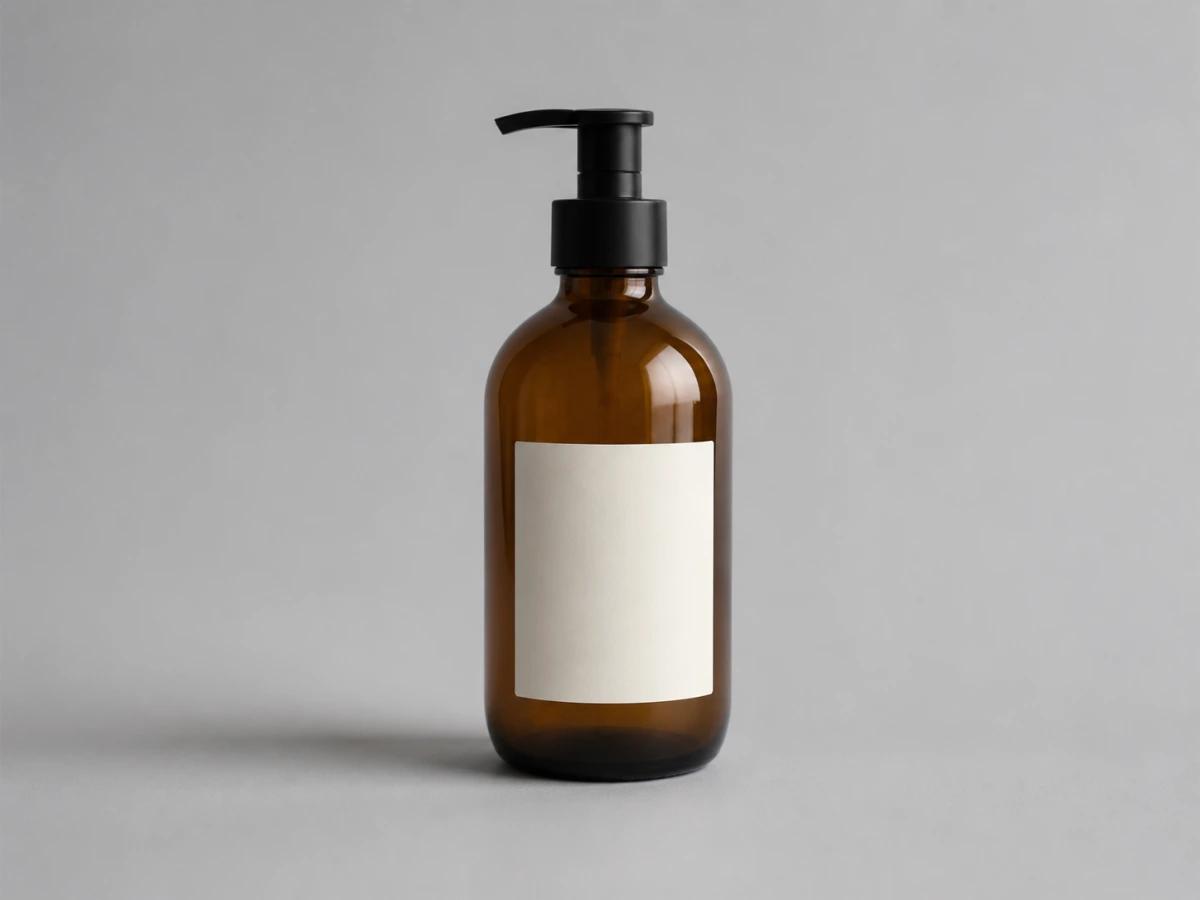
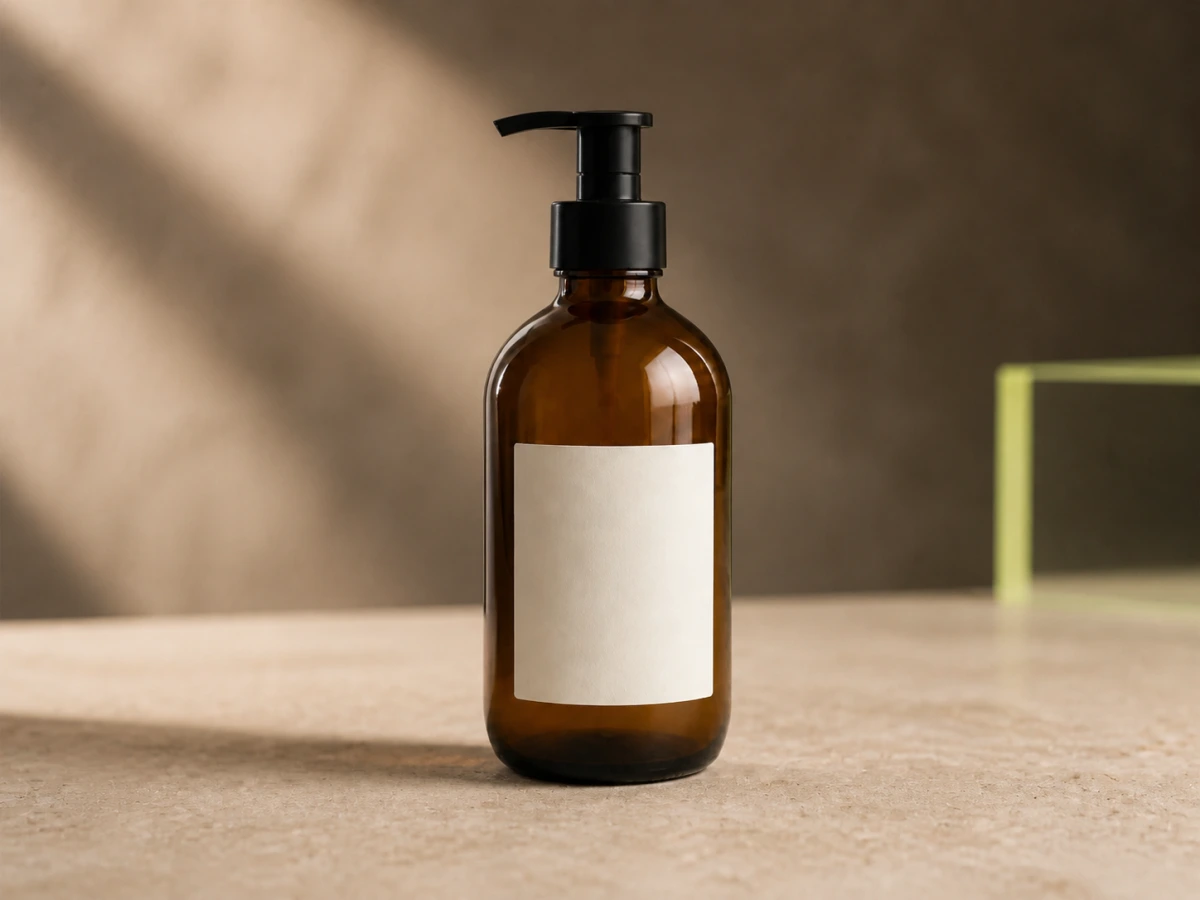
Product scene
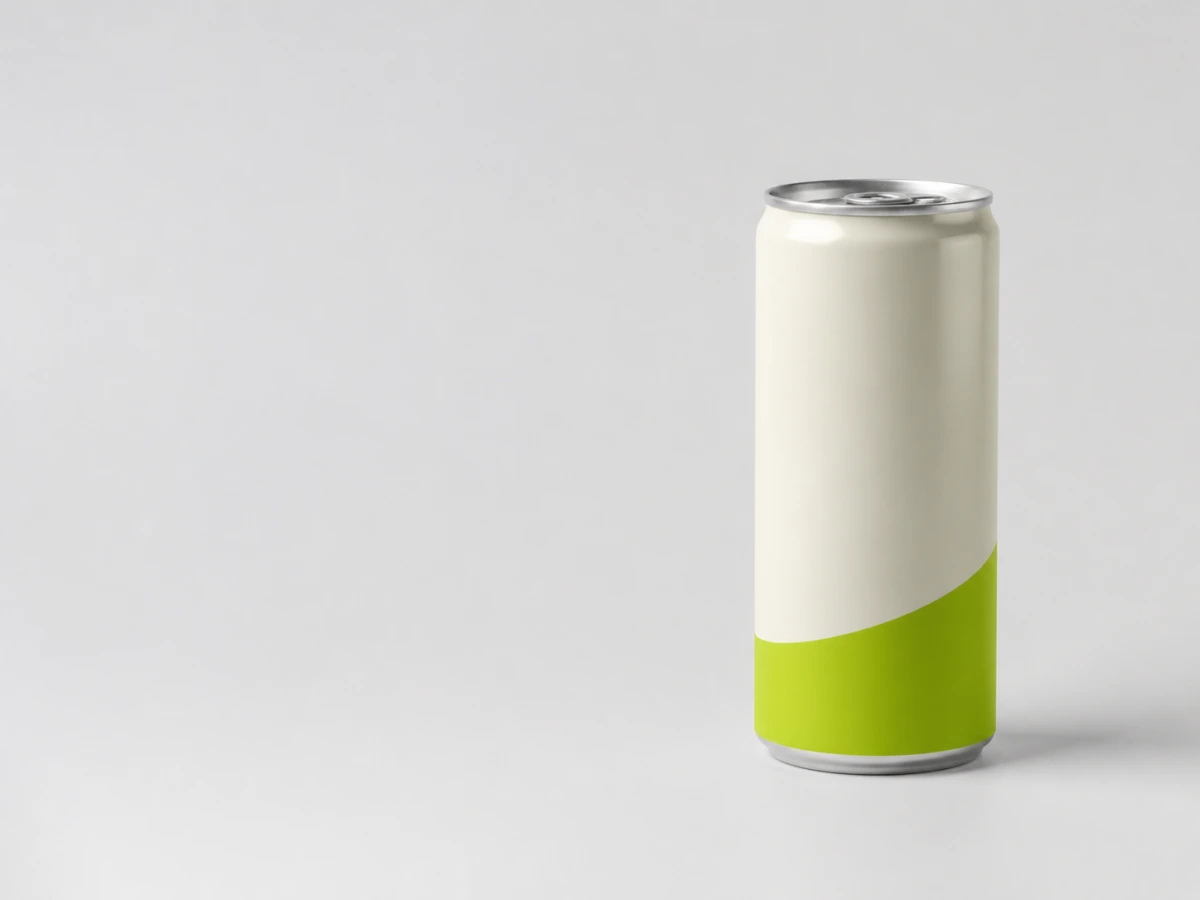
Keep the bottle shape, label placement, and camera angle while replacing a plain backdrop with a warm studio surface, soft shadows, and editorial lighting.
Use our AI Image Editor to upload a photo, describe what should change—and what should stay—and create a polished edit without learning layers or masks.
Your edited image appears here
Upload at least one reference, describe the change and preserve list, then choose your output settings.
These paired examples show how a focused instruction can change the setting, styling, or campaign treatment while giving the editor clear details to preserve.
Keep the bottle shape, label placement, and camera angle while replacing a plain backdrop with a warm studio surface, soft shadows, and editorial lighting.
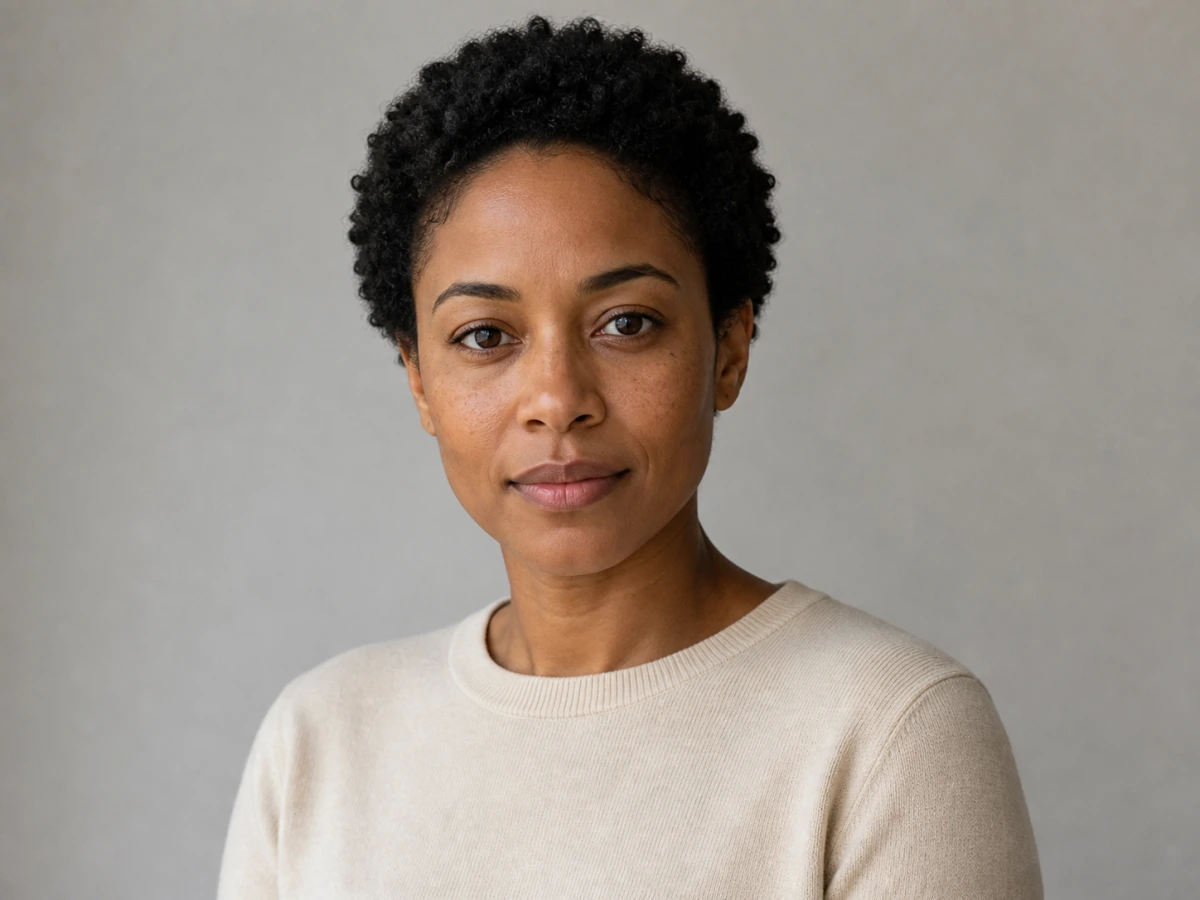
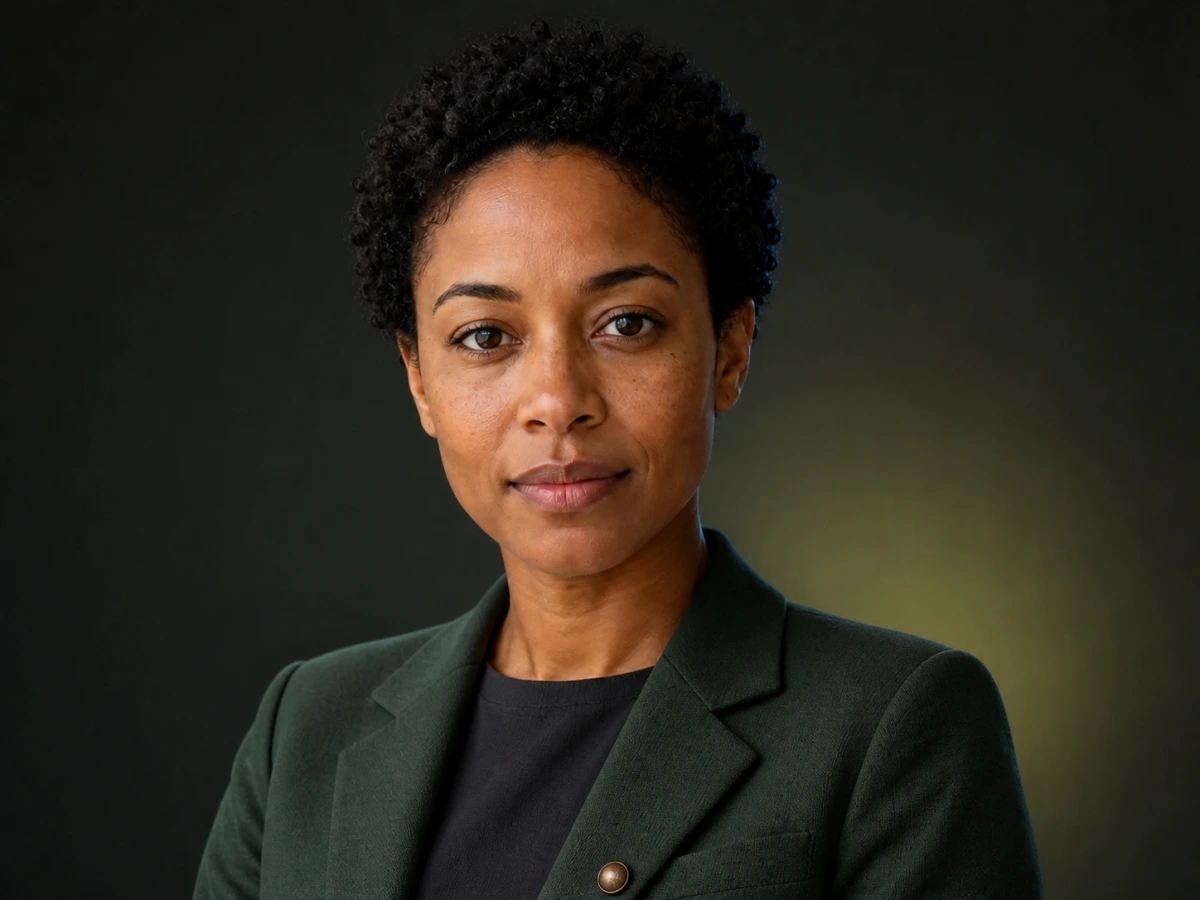
Preserve the person's identity and pose, then specify a new wardrobe, color palette, and lighting direction for a coordinated portrait treatment.
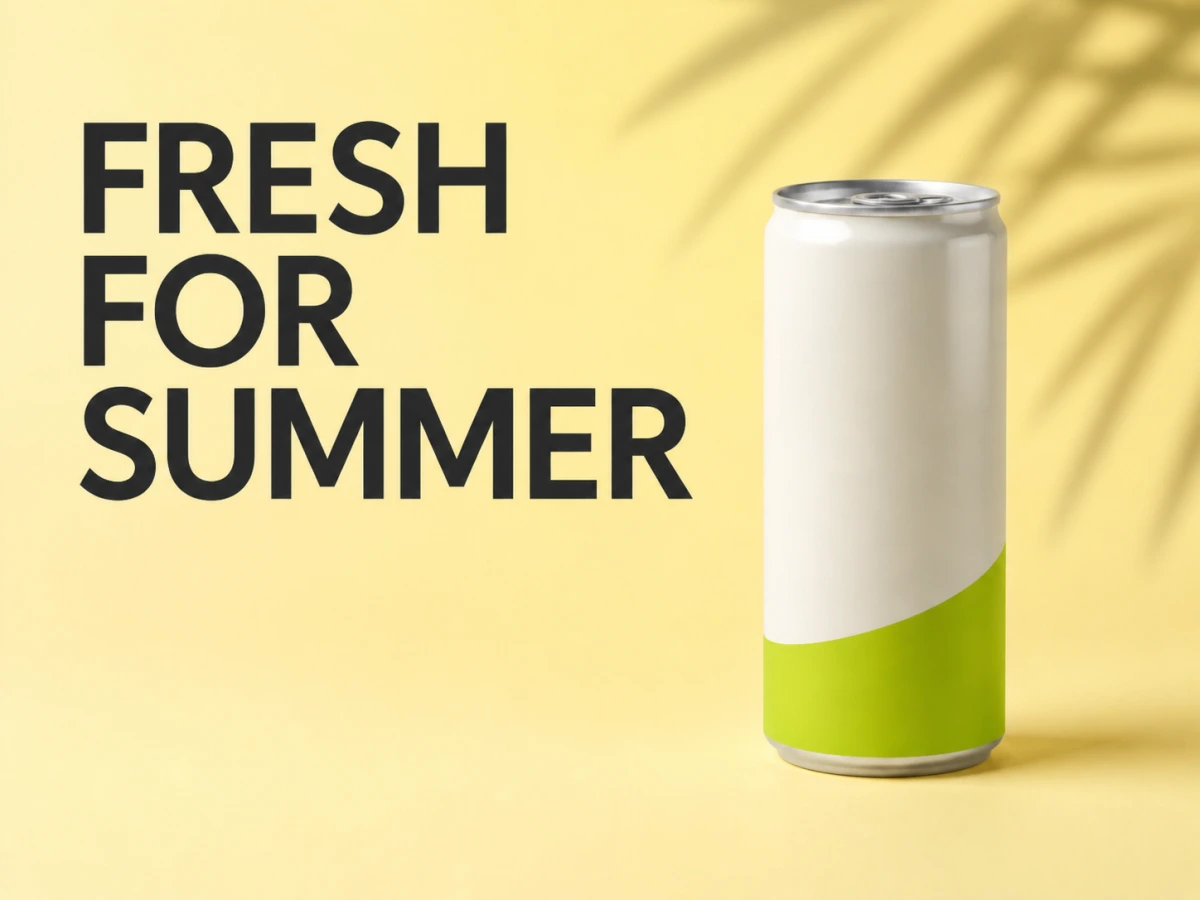
Retain the featured product and reserve a clean text area, then describe the campaign background, headline wording, and contrast needed for a readable layout.
Start with a useful reference, make the instruction testable, and inspect the result before treating it as a finished asset.
Add a clear JPG, PNG, or WebP source. You can upload up to ten references; use the first as the main composition and make the role of every additional image explicit in your prompt.
State the subject or region to change, the desired replacement, and the details that must remain untouched. Include exact text, colors, placement, or lighting when those details matter.
Select an aspect ratio and 1K, 2K, or 4K output. Check the credit total shown in the editor, because resolution changes the number of credits used for the edit.
Inspect faces, hands, edges, small text, product geometry, and preserved details at full size. Revise the prompt and generate a new edit when a required element changed unexpectedly.
Write one primary change per request and name the visual constraints that make the result usable.
Move a subject into a studio, room, landscape, or branded setting while asking to preserve its outline, scale, perspective, and contact shadow.
Identify the unwanted object by position and appearance, then describe how the exposed area should continue the surrounding texture, lighting, or scenery.
Place props, furniture, packaging, or decor by specifying size, position, material, viewing angle, and how each addition should interact with the existing light.
Change the surface, lighting, seasonal mood, or art direction while keeping the product silhouette, label, logo, colors, and camera perspective consistent.
Request wardrobe, hair, accessory, or lighting changes while explicitly preserving identity, expression, pose, skin tone, and any feature that must not drift.
Provide the exact headline and request a simple high-contrast text area. Check every character after generation, especially product names, dates, and calls to action.
A useful edit prompt separates the requested change from the constraints. Name the source to follow, the specific transformation, the details to preserve, and the intended composition or finish.
“Replace the gray wall behind the chair with a sunlit limewash studio wall. Keep the chair shape, rust upholstery, camera angle, floor contact, and natural shadow unchanged.”
The instruction locates the edit and gives the editor a concrete preserve list, so the chair remains the reference point rather than being redesigned.
“Change the jacket to a tailored forest-green blazer with matte fabric and brass buttons. Preserve the person's face, hair, expression, pose, hands, and the existing window light.”
The material, color, and fasteners define the new garment while the identity and lighting constraints mark what should remain stable.
“Turn this product photo into a square summer campaign visual. Keep the can and logo unchanged, add a pale yellow background with soft leaf shadows, and leave clean space above for the exact headline 'FRESH FOR SUMMER'.”
The prompt defines format, preserved brand elements, art direction, text, and where the layout needs usable negative space.
Review the input, output, and account requirements before starting an edit so the selected settings match the asset you need.
Upload JPG references up to 1 MP, or PNG/WebP references up to 4 MP, with a 10 MB maximum per image. A clean, well-lit source gives the prompt clearer visual evidence to work from.
The editor accepts up to ten reference images. More references are useful only when the prompt assigns each one a clear role, such as composition, product, wardrobe, or palette.
Choose 1K, 2K, or 4K and a supported aspect ratio. Some wide or tall ratios are limited to 1K, and the editor validates incompatible combinations before submission.
Generation requires sign-in and available credits. The editor displays the current cost before you submit: 1K uses 30 credits, 2K uses 50 credits, and 4K uses 80 credits.
Compare the visible browser workflows and published input options, then choose the editor whose controls match your source material and review process.
| Decision | Nano Banana Pro | PhotoEditorAI | DeepAI |
|---|---|---|---|
| Core workflow | A focused reference-guided workflow: upload references, describe the requested change and preserve list, then choose framing and an output tier. | Its editor lets you switch model families and start from quick preset prompts before supplying an image, instruction, and generation choice. | Its editor accepts upload, URL, or paste inputs, then pairs an edit description with its available model tiers. |
| Published inputs | Accepts up to ten references: JPG up to 1 MP, or PNG/WebP up to 4 MP, with a 10 MB limit for each uploaded image. | Its official editor documents JPEG, PNG, and WebP uploads and a separate multi-image fusion path. | Its official editor supports up to three images and exposes upload, URL, and paste input options. |
| Output controls | Offers 1K, 2K, and 4K tiers with aspect-ratio compatibility checked before submission; the editor states its limits and credit total before generation. | Its editor exposes 1K, 2K, and 4K output choices alongside model-family selection and quick preset prompts. | Its official editor presents Standard, Genius, and Super Genius model tiers alongside its image-input workflow. |
| Review before submitting | The editor keeps reference count, format, file-size, aspect-ratio, resolution, sign-in, and credit requirements visible in its own workflow. | Review the selected model family, preset, image-input route, and the service's current terms in its editor before submitting. | Review the chosen input route, up-to-three-image limit, selected model tier, and membership requirements in its editor before submitting. |
Nano Banana Pro: Choose this focused reference-guided editor when you need explicit JPG, PNG, or WebP limits, up to ten references, and 1K, 2K, or 4K tier controls in one edit flow.
PhotoEditorAI: Choose this route when switching model families and beginning with quick preset prompts are the controls you want to evaluate.
DeepAI: Choose this route when upload, URL, or paste input, up to three images, and model tiers match the way you assemble an edit.
Choose by your workflow: reference-guided editing with explicit limits and tiers, model-family switching with preset prompts, or flexible source entry with up-to-three-image model tiers.
Practical answers about references, formats, credits, output size, and reviewing an AI-assisted edit.
You provide one or more source images and a written instruction. The editor uses the references as visual context, applies the described transformation, and returns a new image. Clear prompts name both the change and the details that must remain stable.
You can upload JPG files up to 1 MP, or PNG/WebP files up to 4 MP, with a 10 MB maximum per image. Use a clear source that shows the details you want preserved, and avoid a heavily compressed copy when small text or product edges matter.
Yes. You can add up to ten references. Tell the editor what to take from each image—for example, composition from the first, product from the second, and color palette from the third—instead of leaving their roles ambiguous.
The cost depends on output resolution: 1K uses 30 credits, 2K uses 50 credits, and 4K uses 80 credits. The current total appears in the editor before submission, so you can change the setting before spending credits.
Yes, 4K is an available output setting. Some extra-wide or extra-tall aspect ratios are available only at 1K, so choose the intended framing first and follow the editor's compatibility message if the combination is unavailable.
Open the result at full size and check identity, hands, object edges, reflections, shadows, product geometry, logos, and every character of visible text. Confirm you have permission to use the source material and revise any detail that does not meet the brief.
Competitor details above summarize the controls and access language visible on each company's official editor or documentation page.
Reviewed August 30, 2026
Bring a clear source image and a prompt that separates the requested change from the details you need to preserve.