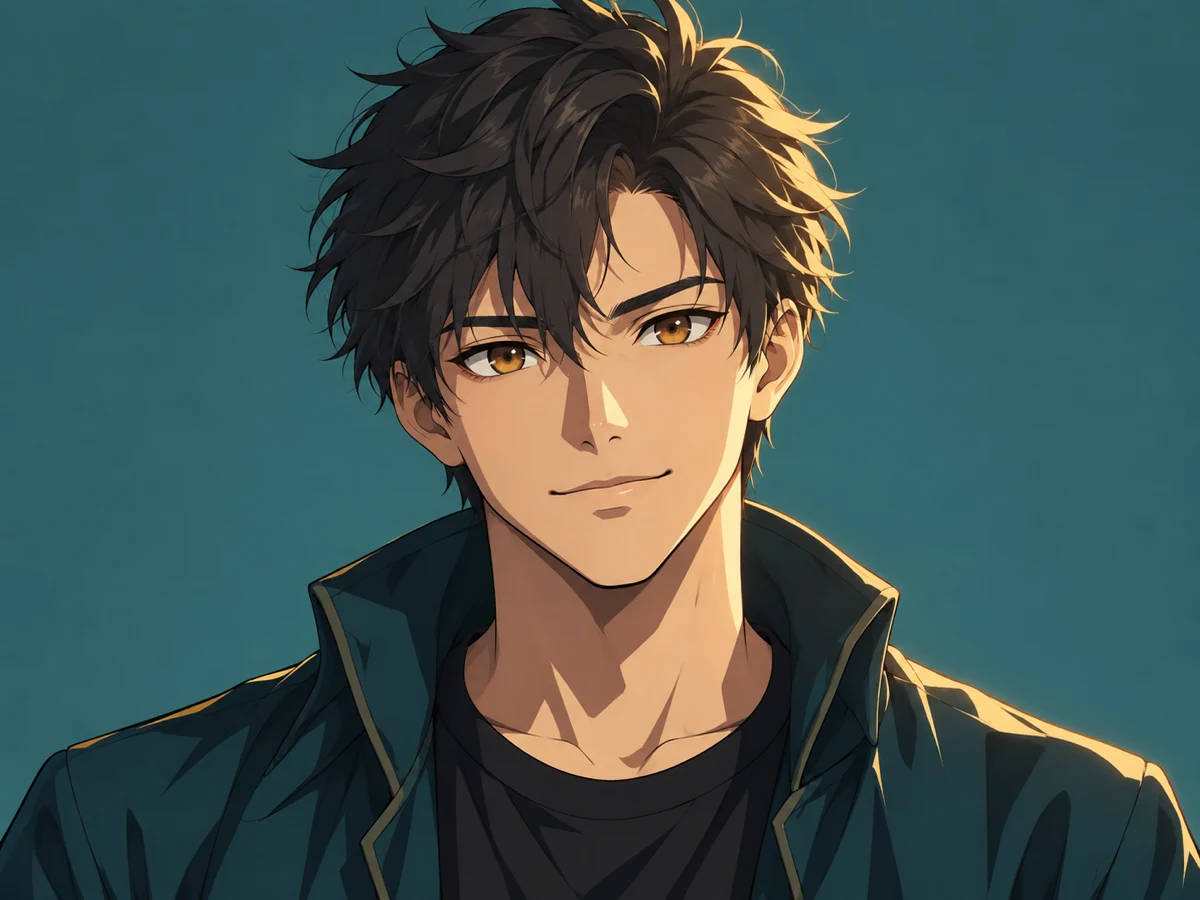
 Portrait / cel-shaded
A portrait redrawn with flat cel color
Cel shading keeps the facial structure, hair shape, and expression readable while replacing photographic skin and light with clean outlines and separated colour.
Awaiting your source photo
Upload one clear image, choose an anime drawing style, and the generated frame will appear here with a draggable Before / After review.
Photo to Anime turns one uploaded photo into a cel-shaded, soft anime, or black-and-white manga frame. Choose the visual language, keep the original beside the result, and download only after you have inspected the face, silhouette, and details that matter.
An anime converter is most useful when the style follows the subject. These studies show the intended decision: preserve the person, pet, or place first, then choose the anime treatment that serves it.
Portrait / cel-shadedCel shading keeps the facial structure, hair shape, and expression readable while replacing photographic skin and light with clean outlines and separated colour.
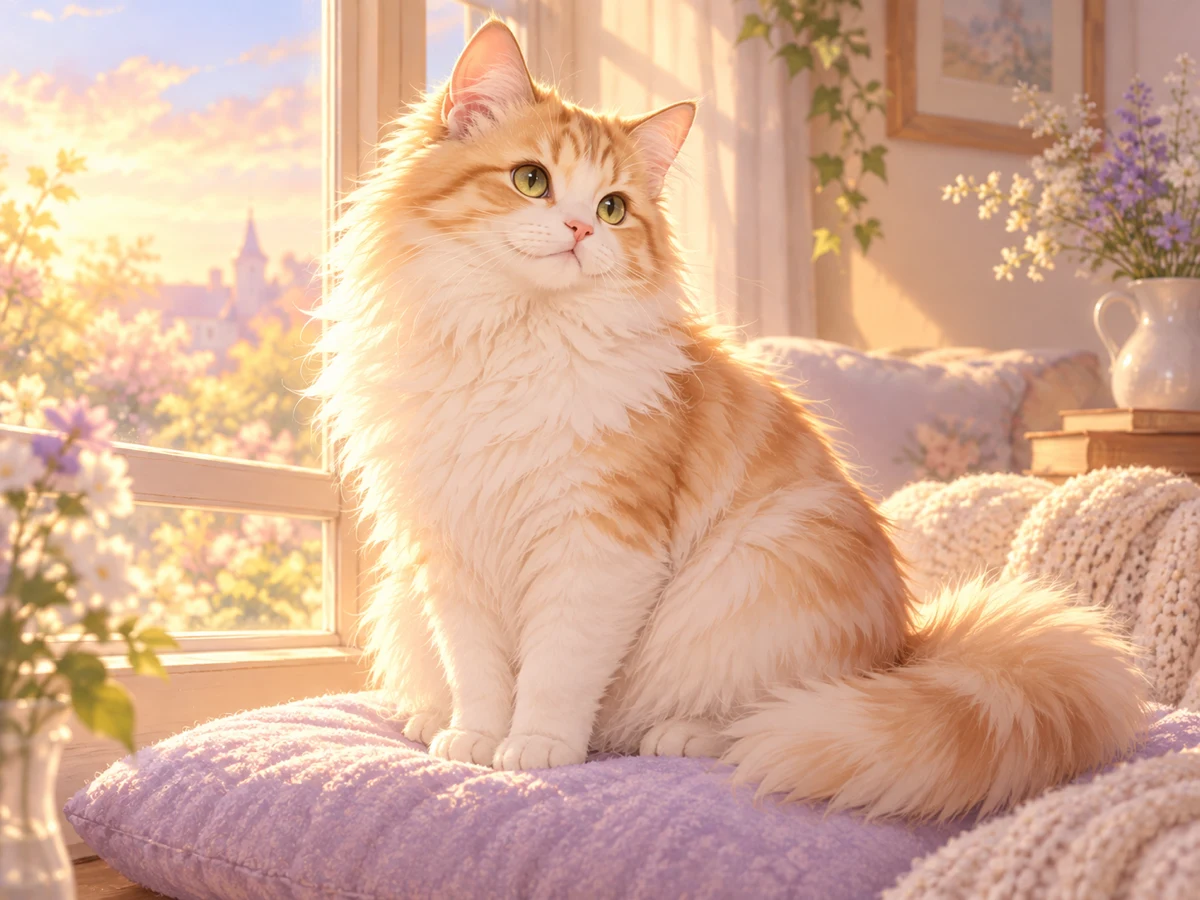 Pet / soft anime
Soft anime shading suits fur, bright eyes, and gentle silhouettes because luminous gradients keep the animal recognisable instead of flattening it.
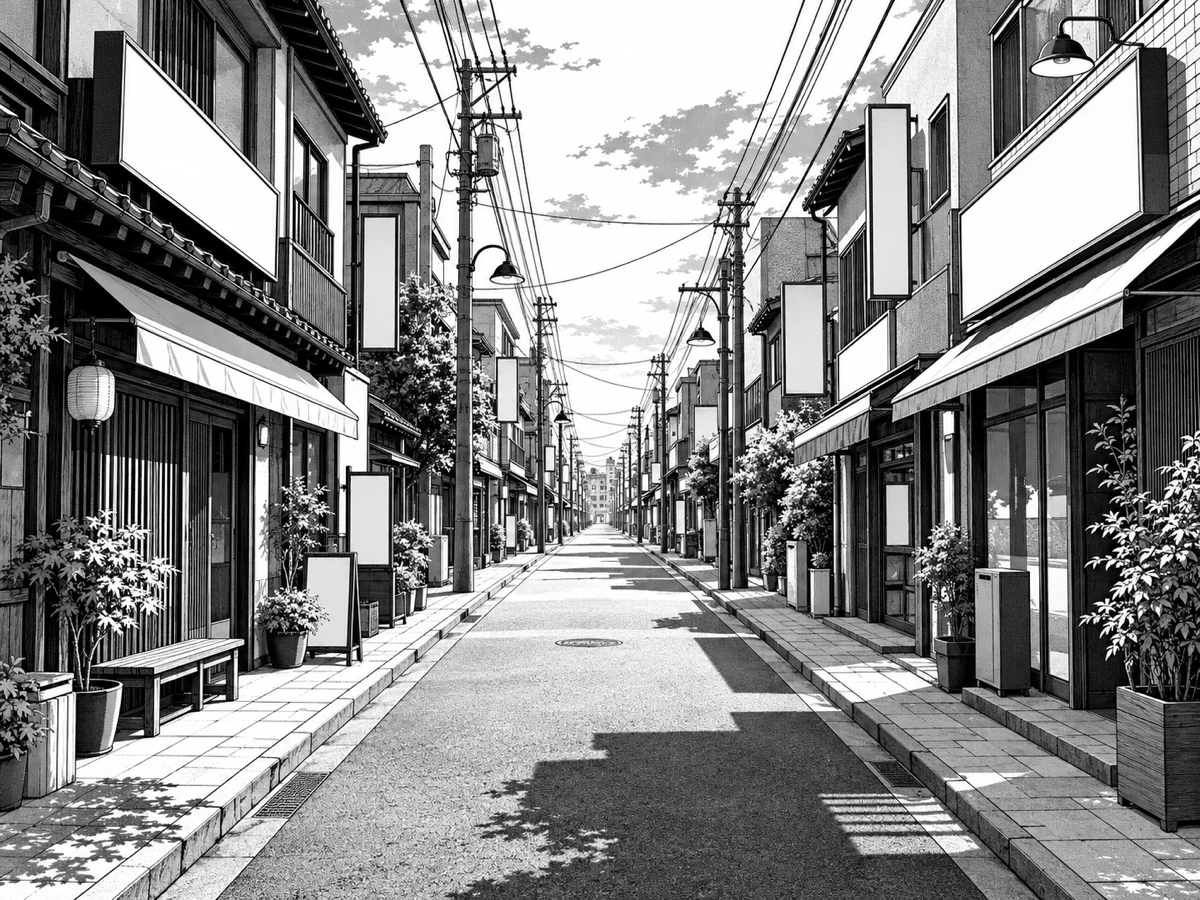 Street / manga
Manga treatment turns perspective, signage, and repeating geometry into deliberate black-and-white contours with screentone depth.
Photo to anime conversion restyles a photograph as an anime illustration by reinterpreting its lines, colours, and shading as cel-shaded, soft anime, or manga artwork. It is not a colour filter: an image model regenerates the scene, so faces, hands, text, logos, and exact geometry should always be checked against the original before you rely on the result.
The practical goal is controlled restyling. A useful frame keeps the same person, pet, or place, preserves the composition, and changes the drawing language without adding characters or objects. That is why this page keeps the source photo in the same review stage as the generated anime frame.
Start with a well-lit image and a clear subject. Portraits need visible eyes, hair, and facial planes; pets need a readable silhouette and fur direction; city and street shots need straight edges and strong perspective. The style choice changes the drawing; it does not repair an unclear or heavily cropped source.
The style selector is a real generation setting, not a decorative label. Pick the treatment that matches how you want the subject to read after conversion.
Crisp outlines, flat separated colour blocks, hard-edged shadows, and dramatic highlights for a modern TV-anime look.
Best for portraits, characters, and product-like subjects.
Luminous pastel colour, gentle gradients, delicate linework, and a light bloom finish for a warmer illustrated feel.
Best for pets, children, flowers, and soft light.
High-contrast black-and-white ink, bold contours, and screentone shading for graphic, print-ready pages.
Best for street scenes, architecture, and action framing.
The page keeps the workflow short enough for a first attempt while exposing the review step that stops a pretty frame from hiding an important mistake.
Add a JPG, PNG, or WebP image. Use one subject with enough light and resolution for the face, fur, or architecture to be inspected after conversion.
Confirm the thumbnail is the source you intended to restyle.
Select cel-shaded for flat TV-anime colour, soft anime for a luminous illustration, or manga for black-and-white ink. The chosen treatment is sent with the generation request.
Choose the drawing language that supports the subject, not just the strongest contrast.
Drag the Before / After divider across faces, hands, text, logos, repeating patterns, and hard edges. Download only when the anime frame preserves the details you need.
Keep the original file as the reference for any later editing or print work.
The comparison below describes the public workflow each product presents, not a benchmark of hidden model quality. The useful distinction is where the decision and inspection happen: this page puts style selection and Before / After review in the same focused tool.
| Criterion | Nano Banana Pro | Fotor | ToonMe |
|---|---|---|---|
| Primary workflow | Upload one photo → choose cel-shaded, soft anime, or manga → compare → download | Photo-to-anime feature inside a broad browser editing suite | Cartoon and anime portrait app with a mobile-first flow |
| Style decision | Three explicit anime directions exposed before generation, each with a written description | Anime and cartoon effects presented across a wider effects library | Portrait-first cartoon styles with less control over the drawing language |
| Review before export | Built-in Before / After divider keeps the original photo and the anime frame together | Preview and download inside the converter workflow | Mobile preview focus with a lighter desktop inspection surface |
| Credit transparency | Shows 15 credits per 1K frame before you generate; uploads and style changes do not consume credits | Credits and limits depend on the broader subscription plan | Free tier with paid unlocks inside the app |
| Best fit | Users who want one clear anime frame with an explicit style choice and a real check step | Users who also want to continue into a larger browser editing suite | Users who mainly want quick portrait cartoons on a phone |
Choose Nano Banana Pro when the anime frame itself is the deliverable and you want the style choice, source comparison, and download decision in one compact workspace. For every tool, inspect faces, hands, text, logos, and exact geometry before using the result commercially.
Clear expectations make the first conversion more useful and make the review step faster.
Use a clear JPG, PNG, or WebP image with good lighting and a readable subject. Portraits should show facial features and hair, pets should have a distinct silhouette and visible fur, and street or city shots should have strong edges, perspective, and enough surrounding detail.
Yes. The tool exposes cel-shaded, soft anime, and manga as generation choices. Cel-shaded gives flat TV-anime colour, soft anime adds luminous gradients, and manga produces high-contrast black-and-white ink with screentone shading.
The request asks the image model to preserve the subject identity, face, hair, clothing, silhouette, pose, composition, and the original number of people and animals. Because the frame is AI-generated, compare it with the original before relying on a face, logo, text, or exact feature.
Yes. After generation, the result stage keeps the uploaded photo under a draggable Before / After divider so you can inspect the conversion before downloading it.
The dedicated page is set to one 1K output and displays 15 credits per frame before you generate. Uploading and selecting a style do not consume generation credits; credits are reserved when the authenticated generation request is accepted.
Review the current Nano Banana Pro Terms of Service and make sure you have the rights to the source photo. Always inspect the output for accidental text, logos, extra faces, or likeness issues before publishing or selling it.
Start with the image that matters, choose the anime drawing language, and let the Before / After stage decide whether the result is ready to keep.