Resolution Lab · 2× / 4×

Image Upscaler

Use this image upscaler to enlarge one JPG, PNG, or WebP image by 2× or 4×. The workspace calculates the expected output dimensions and credit tier, then lets you inspect the processed result against the source before downloading it.

  • JPG · PNG · WebP
  • Up to 10 MB · 2M pixels
  • 2× or 4×
  • 20,000 px output limit
Resolution laboratory

Image Upscaler

Input / 01
Source imagePNG · JPG · WEBP
Resolution scale
Select output ratio
Source— × —
Estimated output— × —
Compute estimate15 credits
15 credits per runSign in at launch
Inspection stageStandby
Inspection stage / 00

Awaiting source image

Upload one image to activate calibrated resolution measurements and the Before / After inspection view.

RGB / 012× · 4×MAX 20K

Definition

What Is an Image Upscaler?

An image upscaler is a tool that increases an image’s pixel dimensions while using learned visual patterns to estimate detail between existing pixels. It can make a file suitable for larger screens or prints, but the added detail is inferred rather than recovered, so faces, text, logos, and product features require human review.

Pixel dimensions describe how many addressable picture elements a file contains. Raising those dimensions gives a layout, display, or printer more pixels to work with, but it does not reveal a hidden high-resolution original. An AI-assisted process estimates plausible edges and textures from the visible source.

Perceived sharpness is a separate judgment. A result may look cleaner at normal viewing distance while still containing an incorrect letter, eyelash, seam, or product mark. The Before / After control is therefore part of the workflow, not decoration: compare meaningful details at the size where the image will be used.

Practical workflow

How to Upscale an Image in 3 Steps

The tool keeps the decision sequence short, but each step exposes the information needed to avoid an oversized or misleading result.

  1. 01

    Upload one supported image

    Choose a JPG, PNG, or WebP file no larger than 10 MB or 2 million pixels. After the image is decoded, confirm that the displayed source dimensions match the file you intended to use.

    If dimensions cannot be read, replace the file before continuing.

  2. 02

    Choose 2× or 4×

    Start with 2× when the destination only needs a moderate increase. Choose 4× when the larger output is necessary and the preview remains within the 20,000 px longest-edge limit.

    Read the estimated output dimensions and credit tier before generating.

  3. 03

    Compare, inspect, and download

    Move the Before / After divider across faces, text, hard edges, and repeating texture. Download only after the processed file preserves the details that matter for the final use.

    Keep the source file as the reference for any later editorial review.

Method selection

Upscaling vs Resizing vs Sharpening

Upscaling, conventional resizing, and sharpening solve related but different problems. The right method depends on whether you need more pixels, a different canvas size, stronger local contrast, or a combination applied with restraint.

MethodOutput dimensionsDetail behaviorArtifact riskUseful when
AI upscalingIncreases by a chosen factorInfers plausible edges and textureInvented detail, halos, altered textLarger display, print, or crop preparation
Conventional resizingChanges to specified dimensionsInterpolates existing pixel valuesSoftness, jagged edges, ringingPredictable layout dimensions and delivery variants
SharpeningUsually remains unchangedRaises local edge contrastNoise, bright outlines, brittle textureCareful finishing at the final output size

Use cases

Choose the scale around the destination, not the novelty

A useful upscale begins with a concrete output need. These recommendations are editorial starting points, while the supported factors and technical limits are product facts.

Use / 01

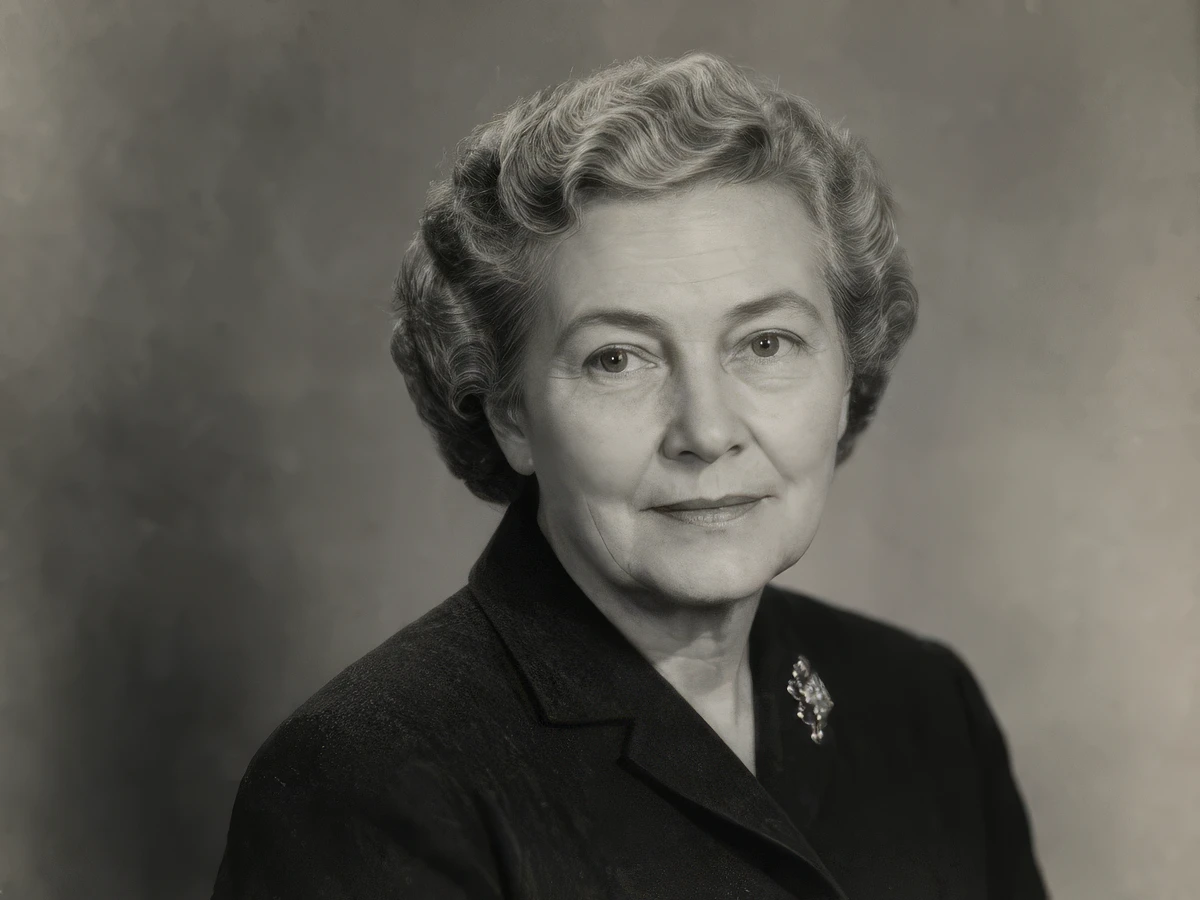
Portraits and old photographs

Is the source a small scan, compressed portrait, or family photograph that needs a larger screen or print presentation?

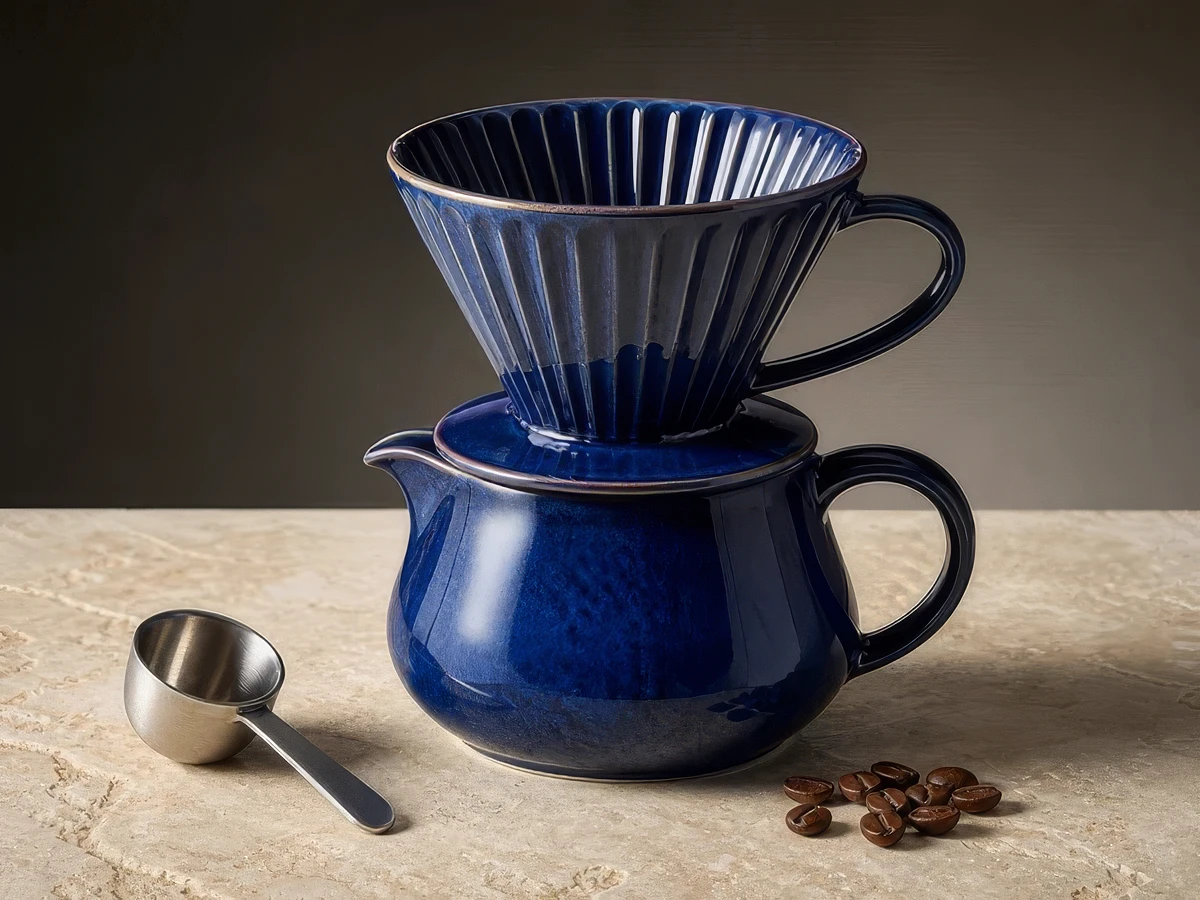
Try 2× first. It often supplies enough extra pixels for a moderate enlargement while giving the process less room to invent fine facial texture than a 4× pass.

ReviewCompare eyes, teeth, hair, jewelry, skin, signatures, film grain, scratches, and the boundaries between the subject and background.

Use / 02

Ecommerce images and print layouts

Does a product image need more resolution for a zoom view, catalog crop, marketplace layout, or physical proof?

Choose the smallest factor that reaches the required dimensions. Confirm the print dimensions and effective resolution in the layout application rather than assuming pixel count alone guarantees print quality.

ReviewVerify labels, ingredient text, logos, stitching, surface finish, reflections, straight edges, color, and any feature a customer uses to identify the item.

Use / 03

AI art, textures, and social assets

Is the image a generated illustration, background, texture, or campaign visual that needs a larger crop or another channel size?

Use 2× for flexible crops and 4× only when the destination genuinely needs the larger file. Preserve a copy of the original composition before creating variants.

ReviewInspect repeated patterns, small symbols, line art, typography, anatomy, borders, and transitions between textured areas where plausible-looking mistakes can hide.

Commercial comparison

Nano Banana Pro vs ImageUpscaler vs Pixelcut

These products organize overlapping work differently. The comparison uses information available on the review date without quality scores or speed rankings. Verify mutable competitor details on the linked pages.

Product pages reviewed

Decision pointNano Banana ProImageUpscalerPixelcut
Best-fit workflowUpscaling alongside image generation, editing, saved assets, and gallery work under one account.A dedicated browser destination for enlargement plus adjacent enhancement and restoration tasks.Upscaling within a broader design and product-image editing workflow.
Core pathUpload one image, choose 2× or 4×, review estimated dimensions and credits, compare, then download.Choose the relevant web tool, supply an image, configure the available enhancement, and review the result.Use its web upscaler or integrate the separately documented API, depending on the workflow.
Published scale and limitsJPG, PNG, or WebP up to 10 MB and 2 million source pixels; public 2×/4×; output longest edge up to 20,000 px.Current options and limits vary by its selected product path; confirm them on the linked product page.Its separate API documents 2×/4×, up to 25 MB and 6,000 × 6,000 input; these are not web-product promises.
Result reviewAn interactive Before / After stage supports visual inspection before download.Review controls depend on the current tool experience; check critical details against the original.Review and export within its current editor or consume the API result in a separate review interface.
Payment model15, 29, or 58 site credits, selected from the processed output’s longest-edge tier.Credits and plans are described on its current product and pricing pages.Web plans and API access are separate offerings; consult current pricing for each route.

Choose Nano Banana Pro when a transparent 2×/4× tool and shared image workflows reduce handoffs. Choose a dedicated service for a focused enhancement set, or Pixelcut when its editor or API fits an existing pipeline. Verify limits, review controls, and payment terms before deciding.

Operating facts

Formats, Limits, Credits, and Data Flow

The workspace validates the file and scale before creating a task. These boundaries describe the public tool as implemented; they are not estimates of processing speed, visual success, or a guarantee that every source will improve.

Public input and output limits

  • Upload one JPG, PNG, or WebP image no larger than 10 MB or 2 million pixels.
  • Choose 2× or 4×. The public workspace does not offer 1× or 8×.
  • The calculated output must be no more than 20,000 pixels on its longest edge.
  • A factor can be disabled when the source dimensions would exceed that output limit.

Credits follow the output size tier

The selected factor multiplies both image dimensions. The resulting longest edge determines the credit tier, so two files using the same factor can cost different amounts.

Output longest edgeCreditsPractical reading
Up to 2,048 px15Compact outputs for moderate screen or layout use.
2,049–4,096 px29Larger assets for detailed screens, crops, or layouts.
4,097–20,000 px58High-resolution files that require closer artifact review.

What happens to an uploaded image

The browser first reads the image dimensions to show an immediate estimate. On upload, the server validates the file type, size, content, and dimensions, then binds the stored image record to the signed-in account. Before generation, the server verifies that the stored image record belongs to the current user. Server-stored dimensions are authoritative for output validation and billing; browser values are not trusted for charging.

The accepted file is stored through the site’s existing image workflow and passed through the configured processing service to create the enlarged result. Task state and output references use the existing account, storage, and history flow. This page does not claim that processing stays inside the browser or promise an unimplemented deletion schedule.

Credits are checked and charged by the server before processing. Existing failure handling is responsible for the matching refund path; retrying should not silently create a second charge for the same failed task.
Common questions

Image Upscaler FAQ

These answers separate implemented limits from editorial advice. Check the live estimate in the workspace for the dimensions and credits of a specific file.

01Does every upscale require credits?

Yes. Each upscale task requires 15, 29, or 58 credits, based on the validated output’s longest edge. You can use included or bonus credits already available in your account. If your balance is too low, purchase additional credits before starting the task.

02Should I choose 2× or 4×?

Choose the smallest factor that reaches the required output dimensions. For many portraits and moderate display enlargements, 2× is a sensible first review. Use 4× when the destination requires it, then inspect inferred detail more closely.

03Which image formats can I upload?

The public tool accepts JPG, PNG, and WebP images up to 10 MB and 2 million source pixels. A renamed, damaged, or undecodable file is not accepted merely because its extension or container looks supported.

04What is the maximum output size?

The processed image can be no more than 20,000 pixels on its longest edge. The workspace calculates source dimension multiplied by 2 or 4 and disables a factor when that result would exceed the limit.

05Can upscaling fix a blurry or compressed image?

It may make edges and texture look more coherent at a larger size, but it cannot recover facts that the source never recorded. Motion blur, heavy compression, missing text, and obscured facial detail can remain wrong or be interpreted inaccurately.

06Can the result change text, faces, or product details?

Yes. Added detail is estimated, so letters, eyes, hair, logos, stitching, reflections, and small geometry can differ from the original. Use the Before / After control and compare every identity-critical or commercially important feature before publishing.

Return to the lab

Upscale the file you can verify

Start with the smallest useful factor, read the dimensions and credits, then inspect the result against its source. Explore related tools or pricing when the job needs another workflow.